Showing posts with label 1966 Phillips (Mary Poppins). Show all posts

19 August 2010

What a lovely day.

(This post is actually cowritten by Angel and Deborah with additional photographs by Nicki.)

Yesterday afternoon we went on our scaled-down suburban Critical Lass ride. It's the first weekend of Fringe Fest, and it was women-and-transgendered day at EBC BikeWorks, and some people were probably nervous about leaving the city's central neighborhoods by bicycle, so we had a smaller group than last time. Miss Sarah has already blogged about the ride from her perspective - if you haven't already seen it check out her post too.


We met up at the playground closest to Deborah's house, in a subdivision where the houses are a mix of faux-Victorian, -Georgian, and -Craftsman houses, like Halifax or Victoria rerendered in vinyl siding and concrete. We like it because the sidewalks, front porches, and garages placed on back alleys make it a more pedestrian-friendly area than the typical suburban front-garage development. Some of the bikes you see in the photo above belong to other families who had brought their kids to the park.

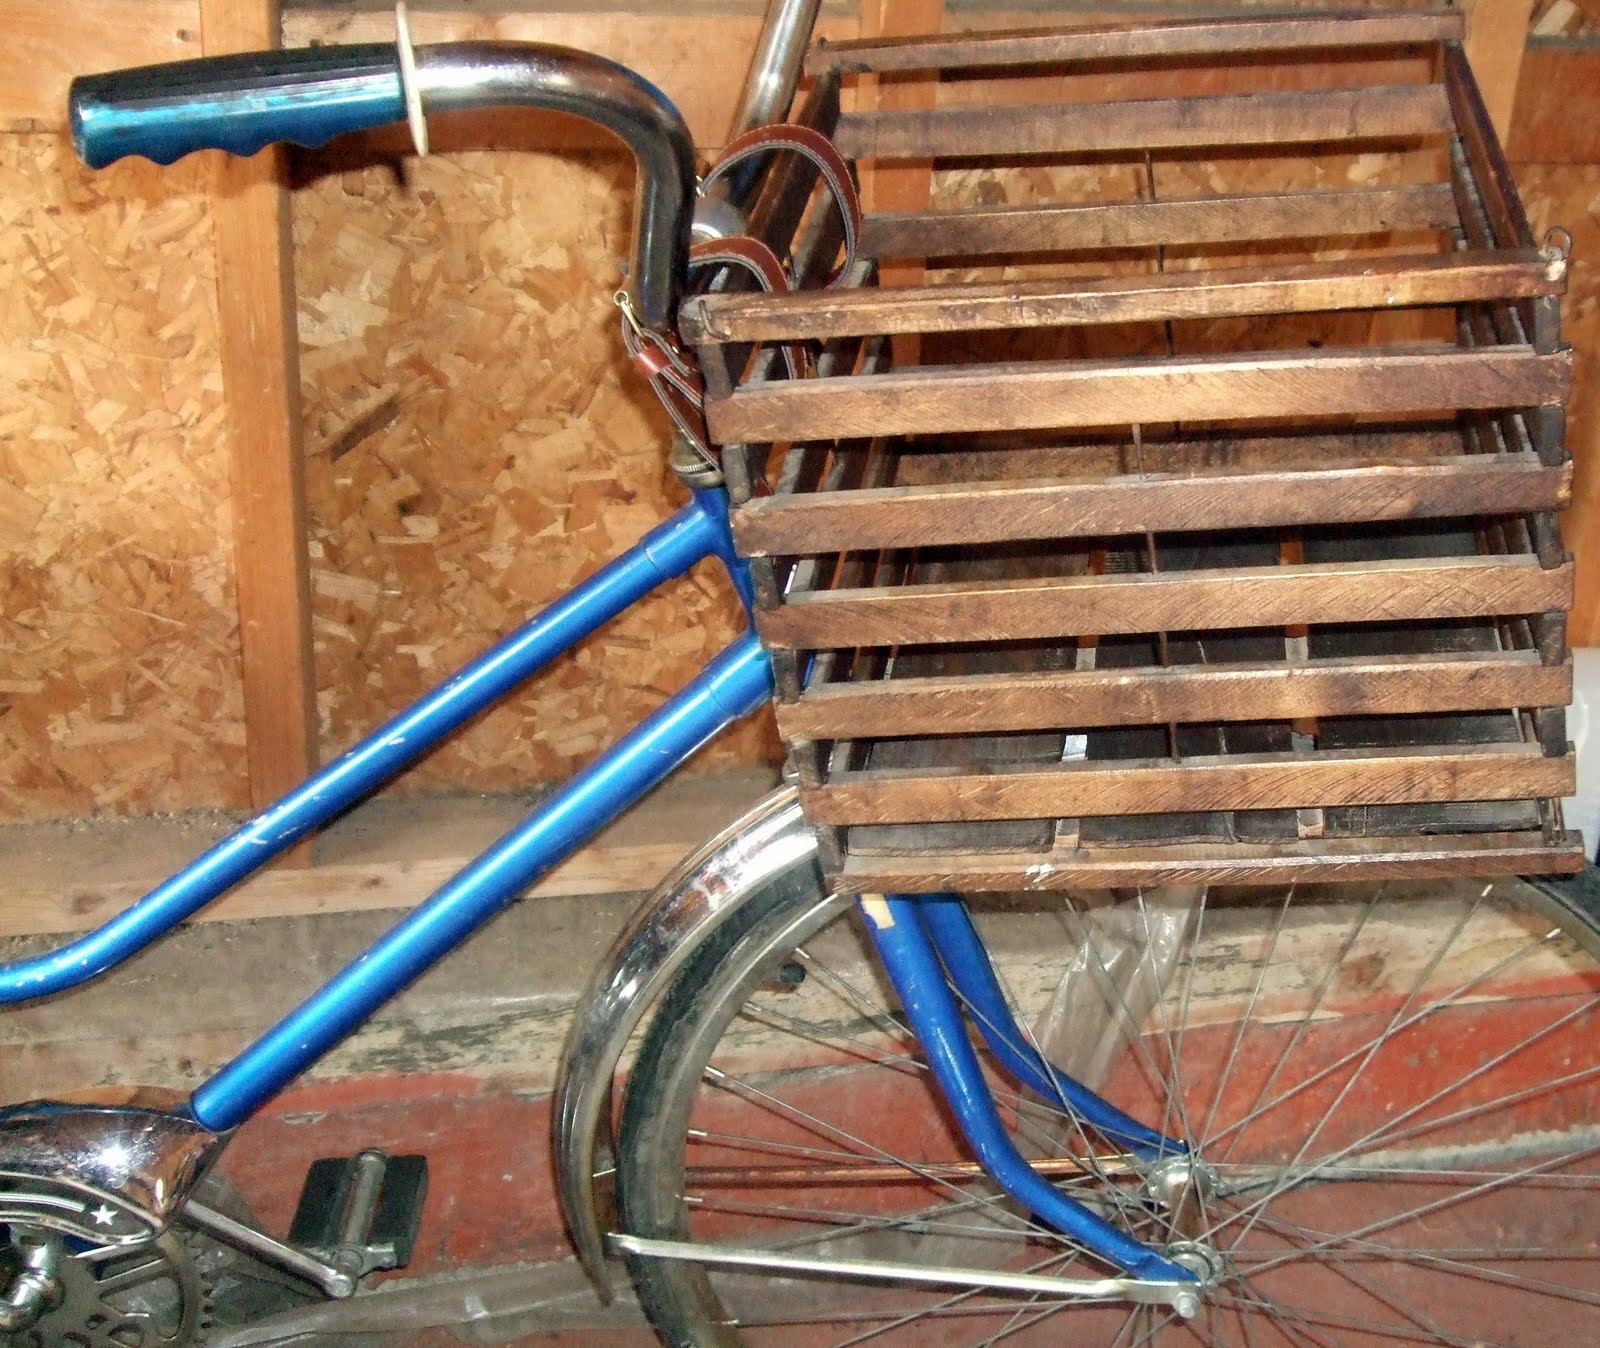
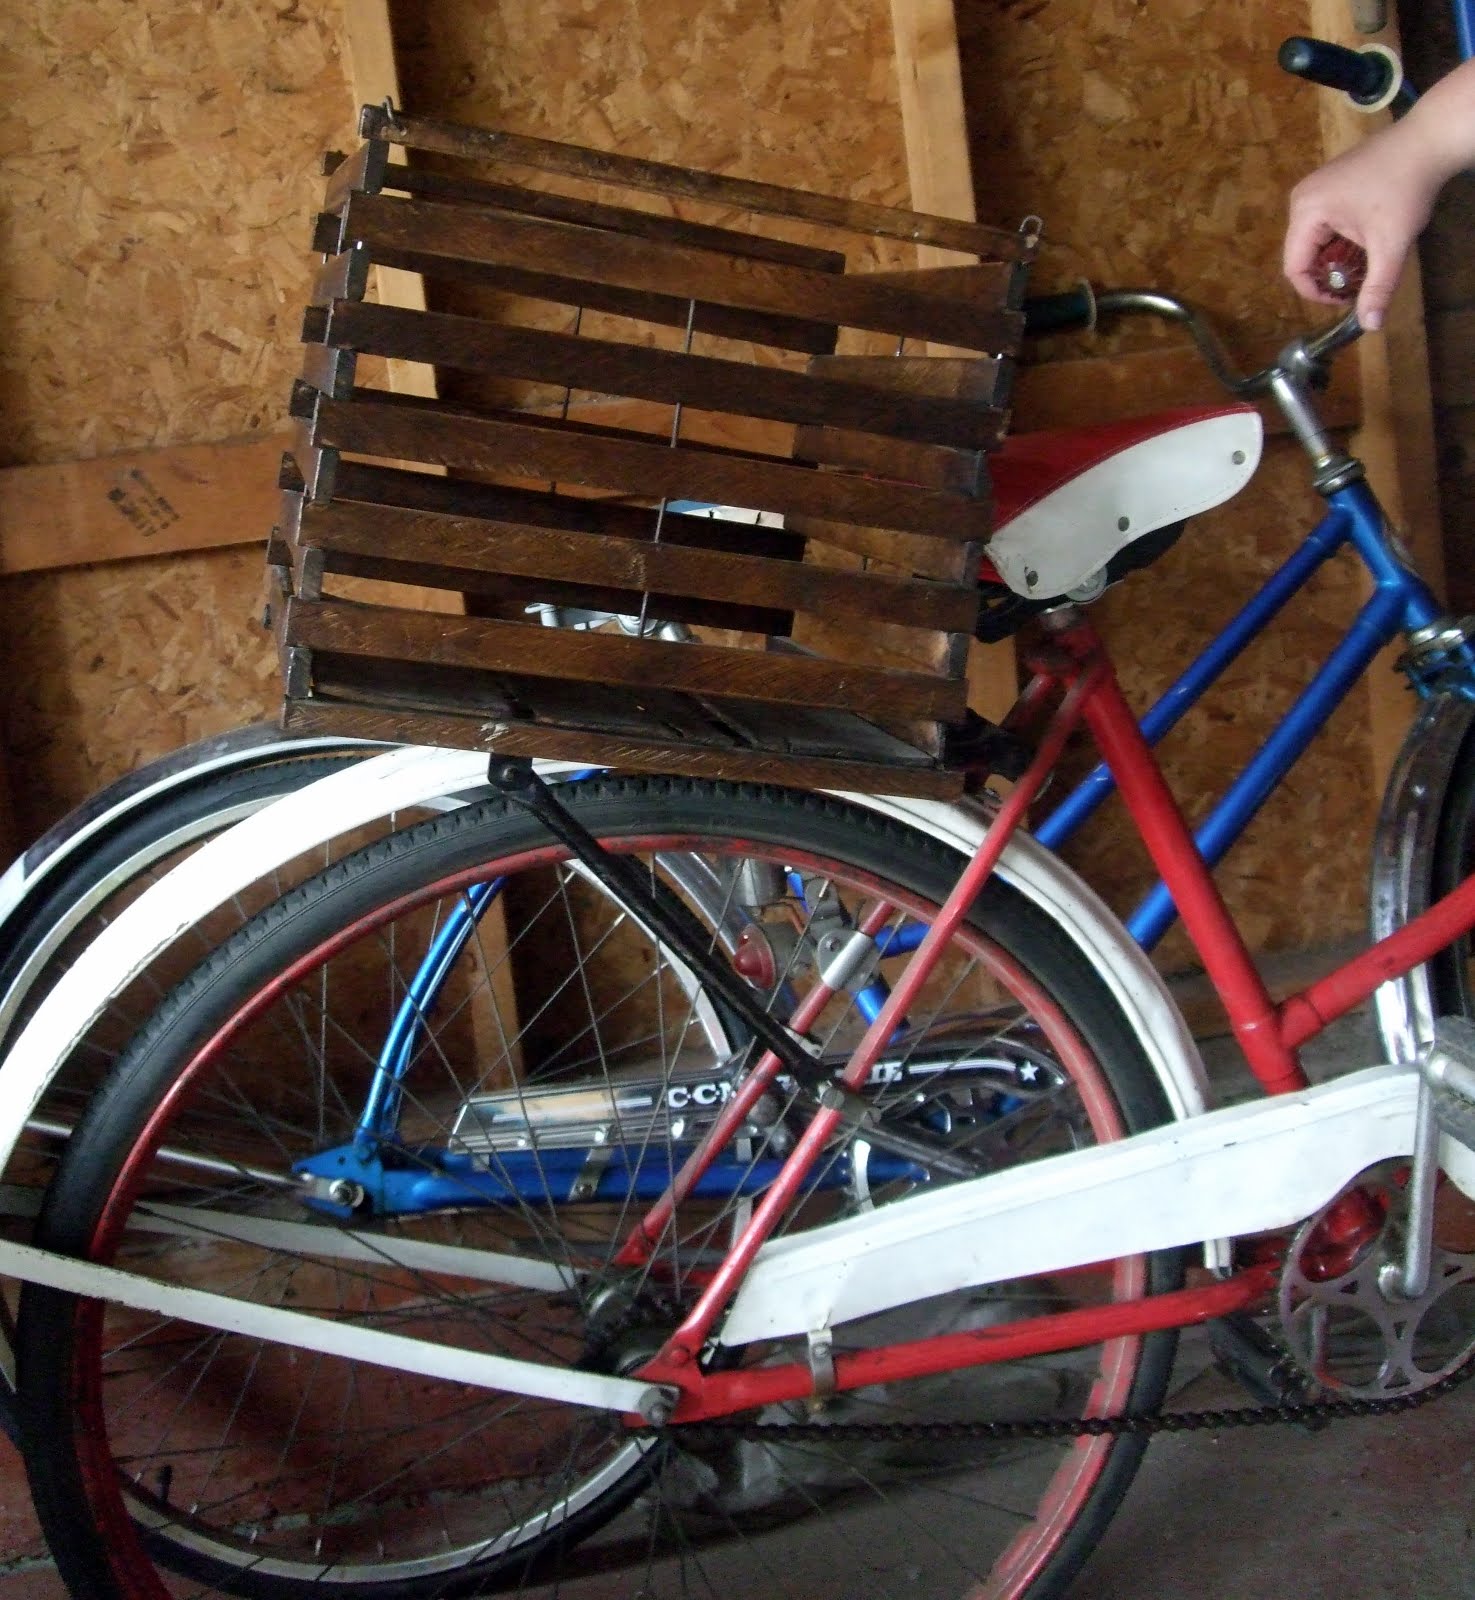
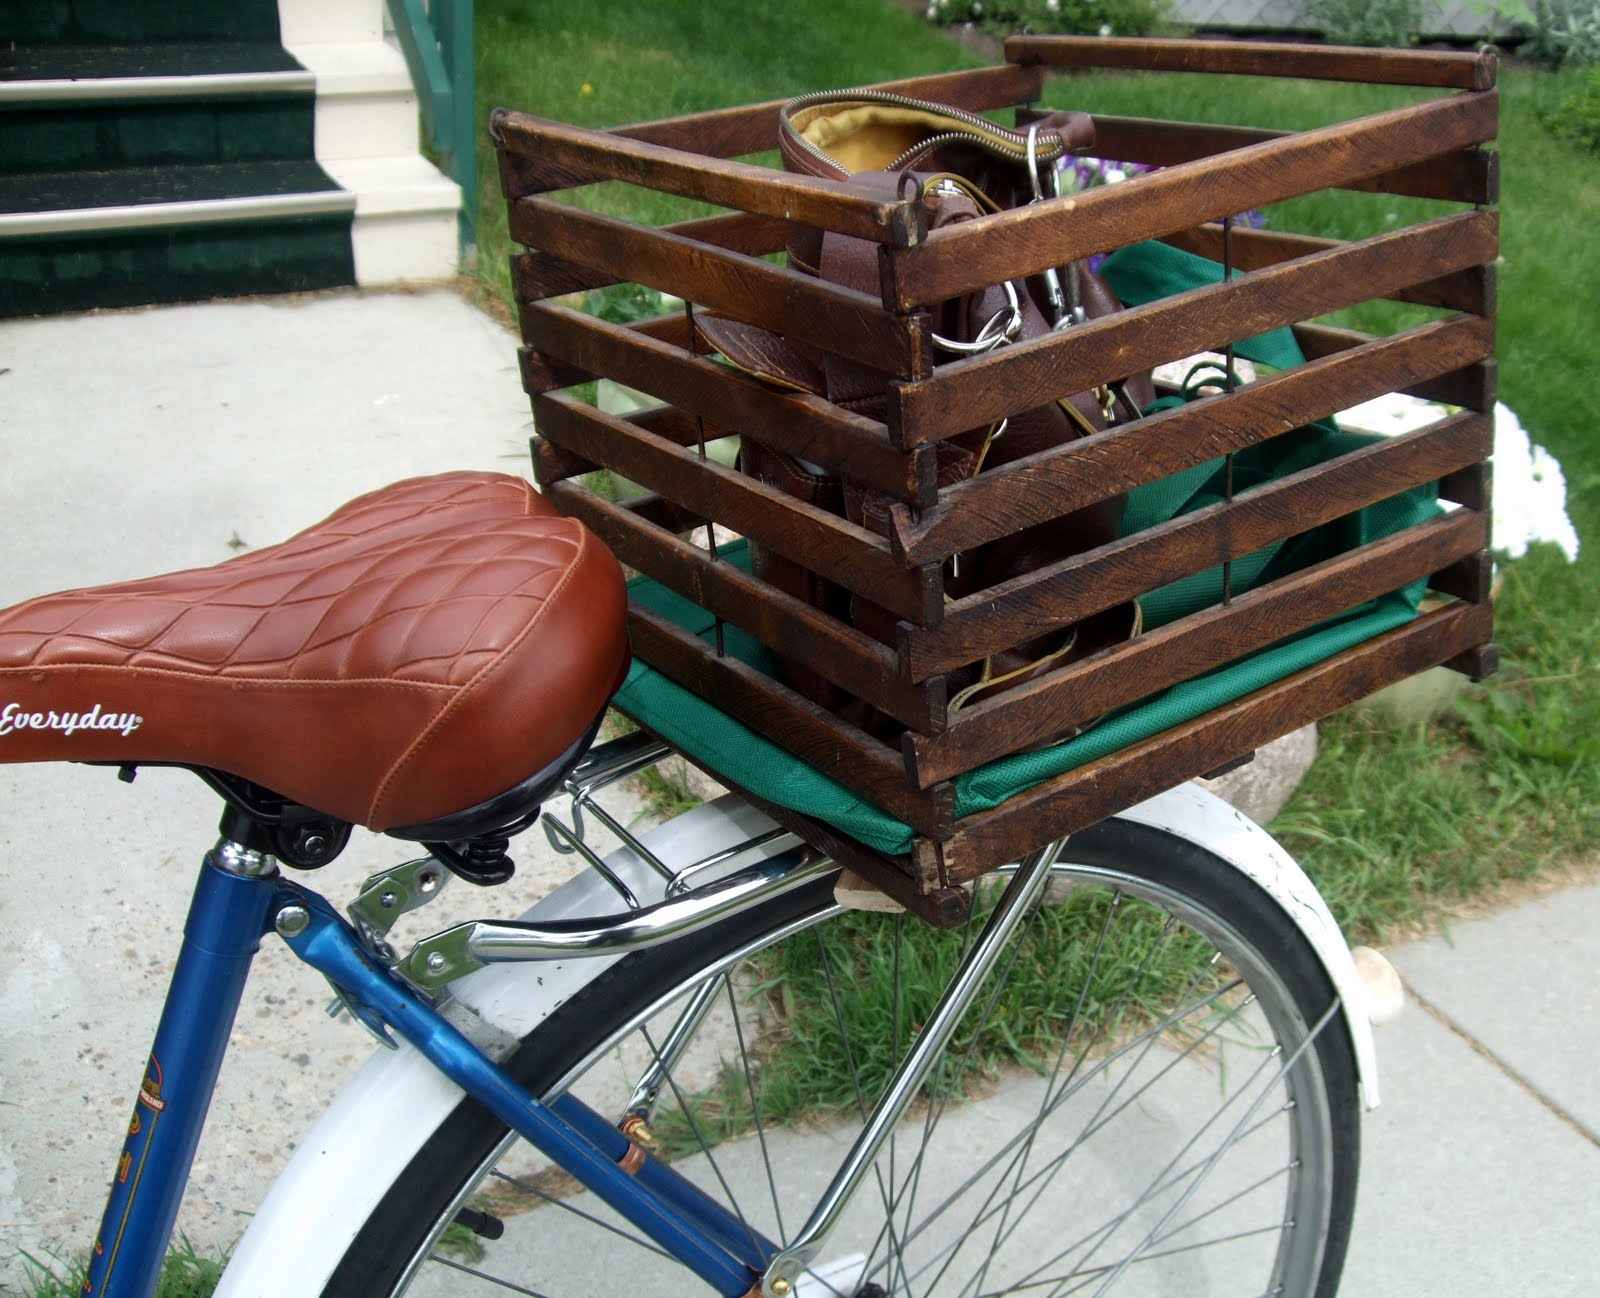
Bert isn't fixed yet. So, we put Audrey's trailer-bike on a borrowed 1980s CCM 5-speed named Violet (Thank you Monica!!! -D.). As you can see in the foreground of the photo above, Deb used basket straps to put her antique egg crate on the front - which really affected the steering once it had a heavy purse and water bottles in it. (I don't think I'll use the crate that way again, as pretty as it looks. -D.)


Angel adding some air while everyone chats.


Winnie's coaster brake isn't fixed yet, so Nicki borrowed Mary Poppins and Deb's polkadot helmet for the ride. Both bikes have 28-inch wheels and coaster brakes, so it was a good way to get her back in the saddle. This was her first time riding a bicycle in nearly ten years. Felt good, didn't it, gorgeous?


Angel rode Daisy. In the end neither of her kids came - Damien was hanging with his grandparents and Lili needed a nap. Notice the green purse in the milk crate that matches one of the shades of green in her floral dress. Dress and sandals both from Reitmans (different seasons) purse is from random mall luggage store. Would LOVE to find a lovely belt to make the dress less poofy (even though the poof comes in handy while biking in the heat, yaaaay built in "AC"). - A.


Sarah was kidless too, thanks to the older LRT cars not being able to accommodate a child trailer without taking the child out and folding it up. We can't imagine doing that solo with a wiggly baby! Here she has just put a CL pin on one of her polka dots. LOVE the skirt and the pearl necklace.


These women are effortlessly chic. Marilyn was wearing a beautiful shirt-dress with a pop of ruffly colour underneath. So classic. (I can't wait 'til my Uniform Project shirt-dress arrives in the mail. -D.)


Of course it is all about the shoes. Clockwise from top left: Sarah in shiny patent leather; Audrey in pink and Deborah with bows on; Angel's new silver flats; and Marilyn's divine Dr Marten's heels (covet!).


Just kidding. It's also all about the bikes. Here is Sarah's road bike at rest, with a Brooks leather saddle and reflective super-skinny rims and the beautiful Po Campo bag she's been trying out.


Mary Poppins awaiting action. Look how pretty the white saddlebag looks with the white vinyl saddle!

Audrey (the only child who ended up coming) didn't feel like staying at the playground, so we were quickly off on our ride and didn't stop at any of the other four playgrounds on our route (yes, four). We headed to a strip-mall area with a lot of cafes and restaurants and neat little shops. On the way, we were riding mostly on residential streets, where one driver was unconscionably rude, and a few were clueless about driving around bicycles, but many were great.

We parked our bikes at the library. It was disappointing to see so few racks in a relatively newly-built area, when  according to the bylaws they should be more. Guess we'll need to call the mall's management and ask some questions? Then we sat in a franchise cafe and had iced strawberry lemonade and a wide-ranging chat. During which we totally forgot to take photos. Oops. It was delightful to be able to all sit at the same table this time and really get to talk. Unfortunately Sarah and Marilyn needed to take off after the cafe and head back to the LRT, so they didn't get to shop. Also, the locally-owned toy store has just closed this location (much to Audrey's disappointment). However, Angel found a great locally-owned kitchen tool shop where she can register for her wedding. Score!


Audrey took this shot of Deborah in the cafe's washroom. She is wearing windowpane-check bermuda shorts from Ricki's, a ruffled scoop-neck t-shirt from Old Navy, a thrift-shop straw-and-leather bag, a gold-plated necklace and fabric flower from Anthropologie, a cloche from local Etsy crafter Sugar Soul to cover the helmet-head.


Audrey did magnificently, especially considering that it was only her second time riding without training wheels (her first was the day before when we were testing the trailer-bike on Violet). We walked the uphills because she felt unsteady when I had to stand on the pedals. We think she'll be riding without training wheels on her own bike by the end of the summer. Oh, and yes, she did choose her outfit specifically to go with the pins for the riders, then lavishly accessorized it Fancy Nancy style. -D.


Attempted panda shot. I am wearing an older sport-style helmet that has never fit my head properly. It is actually not possible with the way it is shaped to get it to sit over my forehead... but it's a decent slightly-small backup when loaning helmets to friends who forgot theirs. - D.


View of downtown Edmonton from the bridge over Terwillegar Drive. It's rather pretty, except for the freeway and utility poles in the foreground - and it gives a nice idea of how sprawled out this city is. Our location here is about halfway between the inner ring road (the Whitemud) and outer ring road (the Henday).  


Taking pictures at the end of the pedestrian bridge.


Nicki, Deborah, and Audrey walking up the hill. Angel was able to ride up with Daisy's 6 speed!

They made it!!

Nicki and the downtown view.

Despite being on the outer edge of town, many of our city's suburban neighborhoods are blessed with a well-planned system of multiuse trails, and most of them have sidewalks as well. Wide roads with two lanes in each direction on the collector roads make it less nerve-wracking to take the lane when needed than on some of the narrower roads in the city's core, and some of the collector roads are having sharrows painted on them that will help to make road-sharing more of a habit for suburban drivers. It may not be practical to go completely car-free, and it takes a little planning, but we think that using a bike instead of a motor vehicle so that you're driving less often is totally doable in the suburbs. Not to mention fun!

To end the ride we headed back to Deborah's, where some other friends with children met us for a barbeque. Good food and good friends, what could be better?

26 June 2010

Carrying A Load (LGRAB Summer Games post 4)

Today I'm blogging about carrying a load as part of the Learning Experiences section of the LGRAB Summer Games.


Originally I was going to use the freeloading trailer for this post, but then something snapped inside Angel's kid trailer attachment - and freeloading trailer got used for parts. So instead, I decided to try a grocery run using a box. There is a long and noble tradition of using fruit boxes and milk crates for carrying loads on bicycles. I love both the utilitarian look of a milk crate, and the romance of using a vintage wood box; but I wondered, which would be more functional? So Angel and I decided that we'd do a head-to-head comparison.


I started by looking at a couple of old plastic milk crates I had in my basement. (These were inherited from postdocs moving to other cities, and are not from local dairies, so no ratting me out to The Milk Crate Recovery Team!) There are a couple of posts out there that describe methods for attaching a single milk crate to your back rack using a bungee cord or some simple hardware-store finds. If you want to attach two crates,  without making mounting a top-bar bike like Bert completely impossible, you can try the simple method at Dinosauropedia to make milk-crate panniers, which looks much more stable than just tying them together with rope(If you're looking to use other types of plastic bins or buckets for panniers, there's inspiration to be found at EcoMetro.)

I ended up deciding to give Angel a red milk-crate-clone with a Chinatown shop's price sticker, which would be perfect for on the rack on Daisy. Since most people attach them with zip ties, that's how Angel attached hers for our testing. She has already described her first experience hauling groceries using the milk crate. Her load was: 4L jug of milk, 2lbs grapes, ~2lbs cherries, 1lb blueberries & 6 pack clamshell of pastries; her wish list for next time is some canvas bags and bungee cords.  

Eventually I want to attach this sturdy fruit box ($12 at a local antique mall, and I won't even have to reinforce it!) to the back of Mary Poppins, whose 28 inch wheels will accommodate a larger-scale box:

I haven't quite decided how I'll do that. The easiest thing would be to find an appropriate rack to fit the bike, then attach to that, but I've been having a LOT of trouble (including buying and returning a couple that were recommended) finding one that will fit onto Mary's 28-inch rear wheel with no extra hole above the dropout. Perhaps I'll get someone to make something like this bracket for me, or special-order one from the UK (they're made by Adie) - or maybe I'll DIY something using pipe strapping. Once I have a way to attach it, I can take inspiration from one of these similar projects using wooden boxes. Meanwhile, I have lightly sanded the box and given it a coat of this to protect it:

I also chose this gorgeous antique wooden egg crate ($38, but look how pretty):


It's wonderfully versatile, since I can use basket straps to attach it to the handlebars like this...

...or attach it to a rear rack like this:


Turns out the egg crate is the absolute perfect proportions for on the NOS Steco rear rack that was on Bert. (I say "was" because attaching the CCM Bike Buddy trailer-bike for the kids, which won't fit onto Mary thanks again to her 28 inch wheels, involved removing said rack from Bert. More about Bike Buddy another time.) The way this bike box on Etsy attaches looks especially elegant, so I decided to do something similar with carriage bolts and thumbscrews.


But first I needed to figure out how to attach the Steco rack to Mary, who has wire fender stays. A comment by Coreen about how they had macgyvered the connections on a similar rack at EBC got me thinking about what I could use in place of the provided hardware. The solution: 3/4-inch copper pipe-hanger clamps, which are sold for a pittance in the plumbing aisle of your local hardware store, are pliable enough to be easily bent from their U-shape to go around the stays of the bike, and are soft enough that regular drill bits could be used to enlarge the nail-holes to accept the screws from the other hardware. I cut a leftover piece of rubber gasket to fit inside so the paint on the stays wouldn't get scratched and to improve the fit. It looks great, and feels really secure!


22 Oct 2010 Update: After a couple of bumpy rides I managed to lose one of the nuts you see below - so if you're doing this, add some Threadlock (from the adhesives aisle at the hardware store) to keep your rack in place. Also: be aware that this solution is fine for carrying cargo, but the weakest point is still going to be the attachment point and therefore your rack won't be able to carry as heavy a load as it may be rated for. So, you know, no attaching a child seat to this, m'kay?


Now for my DIY wooden attachment clamp. Here's what I started with:


I cut two equal lengths of the hemlock door stop, sized to fit diagonally (to help distribute the load across the slatted bottoms) in either of my boxes, and sanded the cut ends, then marked where the holes needed to go, and drilled and sanded again. I won't give measurements since it'll vary with the box and the rack you're using. The 2-inch brass carriage bolts are fine for the fruit box, but just a smidgen too short for the quarter-sawn oak of the egg crate, so I needed to go back and get 2.5-inch ones as well.


Also, the bottom of the egg crate was not attached to the sides, so I predrilled some holes (oak is called hardwood for a reason!) then used 3/4-inch brass wood screws to hold everything securely together.


Here's the finished product installed (some pics with the fruit box and some with the egg crate):


(Clearly the fruit box is too long for this rack, 
unless I install it the other way and double my bike's width.)


You'll notice that Mary Poppins has also been fitted with a double kickstand! This one is meant for 26-inch bikes, so it's OK on perfectly level pavement and too wobbly on rough ground - but it will do until I can find one that's the right size. The kickstand Mary came with was also too short, so this is still an improvement to parking stability. It'll move to Bert once I get the right one for Mary.


Something that the process of installing this baby reminded me: I love having a vintage spanner (aka wrench) from the manufacturer of my bike. It makes these sort of jobs so much easier, because it's designed to fit into tight spaces and fit the odd-sized bolts, and it's great as part of my bring-along toolkit for when the bolts holding my fenders on get a little too loose (as happened on the Critical Lass ride). If you have an old bike and you know who made it, I highly recommend checking the old owner manuals that are online to match up to then eBay to see if you can get the right one for your bike. The Raleigh/Phillips ones regularly go for less than $5 before shipping - well worth it.

My 1960s Raleigh spanner. I use the hex-wrench shape on the end all the time.

The first thing I realized when I started riding was that I hadn't left room for my butt! Luckily this attachment system is versatile, too: I just pulled over, loosened the thumbscrews, and slid the box about and inch and a half further from the seat . No problem.


I wore cotton capris and my favorite flat sandals. This reminds me, I need a pedicure.


The ride to two of the closest grocery stores to my place takes me on a multi-use path through this lovely park:


15 minutes door-to-door, including waiting at the lights on 23rd Avenue to cross busy Rabbit Hill Road as a pedestrian. Not bad! It's nearly triple that when I walk it with my kids in a wagon.

Here is what I bought, about two bags' worth of groceries, including all the items that were on Angel's list. This is totally what I would have bought today if I had brought my car.


I took about 5 minutes to repack the groceries into my baskets. In the future I expect it'll take less time since I will have my packing system figured out. The veggie tray, marshmallows, lemon juice, shampoo, and my purse went into the front basket, and everything else (including my lock) fit into the egg crate. Hey Angel, I think the egg crate wins.


I did find that it was pretty top-heavy, and once I had unlocked from the rack I needed to keep a hand on the bike to keep it from falling over (stupid too-short kickstand). Once I was riding it didn't affect my balance much. By the time I got home, a fender-rub noise had developed, and investigating it showed me that all three of the nuts holding the rack in place had loosened and the whole rack had shifted a little bit to one side. Clearly someone with more hand strength than I have needs to retighten them, and DH has suggested that we try using lock-nuts instead of hex-nuts.

All in all: easy-peasy! I can totally see this being my new evening-or-weekend-morning grocery-run routine - which was part of why I wanted to get a bike in the first place.

Update, 22 Oct 2010: there is also a great wooden-bike-box how-to (with attaching a leather handle!) over at Eighteenth Century Agrarian Business.

27 April 2010

Bert The Bike: 1976 Canadian-built Raleigh

(Actually written a week or so ago, but I had some trouble uploading the photos so held off posting it...)

While I was away in Nova Scotia for the past three weeks, something finally made its way to our garage. Yay!

Bert-the-Bike after a little TLC!

It was a gorgeous day today so I brought Bert out into the sunshine for some cleaning, installing bits and bobs, and documentation. I took the photo above at the end of the afternoon, after the addition of a black bell, a coffee holder (very important), the rear rack and the front rack. (Yes, the Wald front rack still needs to be attached to the front forks - I wasn't brave enough to unscrew the nuts holding the front wheel on so I could finish the job.)

I had suspected that Bert was made in Canada based on the big white downtube sticker similar to Orange Gino's - that hunch turns out have been correct. The serial number is RL6-----, which this excellent article at The Headbadge says corresponds to Canadian manufacture in August 1976 (or 1986?), and there's also this nifty decal:


It reads, "MANUFACTURED IN CANADA BY RALEIGH INDUSTRIES OF CANADA LIMITED UNDER LICENCE FROM RALEIGH INDUSTRIES LIMITED". This also might help to narrow down the date further - does anyone know when this language was used? Was it when TI or Derby owned Raleigh?


As you can see, I'll need to do a little rust removal around the spokes, but not too much - the chrome is in pretty good shape. Both rims say:
26 x 1 3/8, MADE IN FRANCE, <>RIGIDA<> , CHROMAGE SUPERCHROMIX, <81>  45   26
Both tires say:
26 x 1 3/8 (inches), NYLON, IRC GUARANTY ROADSTER, INFLATE TO 55 PSI


Rear 3-speed hub after a rudimentary wipe-down: (in logo) 3S (stamped below) SHIMANO JAPAN F1. I'm so relieved it's not a Shimano 333, which have a reputation for catastrophic failure, according to Sheldon Brown. I haven't been able to find anything about pulling a date of manufacture off the 3S hub...
[update: although it appears that the hub isn't original anyway, read on...]


The hub is not attached to the shifter at the moment; the threads on the little connectors (actually called a bell crank and cable adapter, according to what I found by comparing photos on eBay with what I have) appear to be stripped. Hubby is convinced that he can fix it by trimming off the stripped part of the bell crank; let's say I'm skeptical. =) Park Tools have posted a good article on how to maintain and adjust Shimano hubs, but the shifter on Bert looks quite different from  the one in their photos (more like a metal Sturmey-Archer shifter), so I think Bert will need to make a visit to the LBS to get that looked at.


[Update: one trip to EBC (my local bike kitchen) later, we've figured out that that's a Shimano male end (on a probably-not-original hub) and a Sturmey female end (probably original from the rust on the cord) in the photo above. No wonder they weren't playing nicely. One of the mechanics (Alex, you're wonderful!) macgyvered a Shimano end onto the shifter cord. Now we just need to repack the bottom bracket before we can ride.]

Some more beauty shots, and other details that may help to date the bike or distinguish it from its' British and American cousins:

Raleigh heron chainwheel and cottered cranks with R nuts, obviously before I cleaned it.


These are Union pedals with yellow reflectors and the Raleigh symbol impressed into the treads; what you see here is the Union logo and Made In Germany stamped near the crank.


The Norco kickstand Bert came with. This might be original or a replacement. There are a zillion of these things in the parts room at EBC, and I strongly suspect that they were Canadian-made.


Raleigh-logo-stamped handbrakes, classic black (Dare?) handgrips, unmarked black vinyl metal pan saddle, silver United Cycle Sales & Service sticker above the big white R decal on the seat-tube.

The headbadge, which was missing a rivet, is just a flat bit of stamped metal, not the lovely brass of early years. I wonder if Canada was the only Raleigh plant that used the lines instead of location on the headbadge?

 Closeup of a decal. You can also see the gold pinstriping on the front fender.

Closeup of decal on rear fender. Nottingham, eh? Liars.

The replacement NOS Sturmey-Archer rear reflector after installation. This was a little finicky to screw on without removing the tire, but not too tricky for an amateur like me to handle.


The NOS 1960s English chromed rear rack after I installed it. Having the right wrench (a Raleigh/Phillips one, with all the English sizing) made this a fairly simple proposition. This rack was originally meant for Mary Poppins, but the shape of the attachments meant it fits much more securely on Bert's fender stays. The brass screws are replacements for missing ones from the package, bought at a normal hardware store.

[20 June 2010 Edit: I got mine via eBay, but I just ran across a UK shop that also sells these NOS Steco chrome racks - and their photos include a good photo of the connectors if anyone is curious. I think they could be replaced with a different connector so you can connect to the frame for bigger loads.]

You can also see in this shot that Bert came with hardware for attaching a hockey-stick chainguard (there's also a braze-on for it on the frame). Unfortunately the gorgeous chrome chainguard I got for Bert is actually for a 28" bike, not a 26" one. Grrrr.


Looking at all the above, I'm drawn to the conclusion that Bert was made in 1976, not 1986 - there are just too many standard Raleigh-UK parts there for him to be a child of the Eighties. What do you think?


I also had Mary Poppins out for some loving and a beauty shot. I gave her some new jewelry and a wipe-down, then took these photos:

With her saddlebag. Unfortunately the saddle springs are still borked.

Such a pretty girl! Her rear tire is completely flat and likely needs a new tube (at minimum).

1950s made-in-England chrome Miller bell, with patina intact and a wonderful sound.