Showing posts with label DIY/how-to. Show all posts

02 August 2011

Proofide and Upgrades for Eliza and Bert

Eliza Doolittle (the rod-brake '78 Raleigh DL-1 that used to be Fiona's) came to me with a Brooks B-66 saddle. Then I scored a ridiculous deal on a vintage B-66-S on eBay, which I installed on Eliza, and Bert inherited the B-66. So we now have two vintage Brooks saddles, one of them almost as old as I am, that are a bit dry and stiff, but seem to be in great shape (little surface cracking), despite their age and unknown maintenance history. I thought it would be best if I gave them some love.

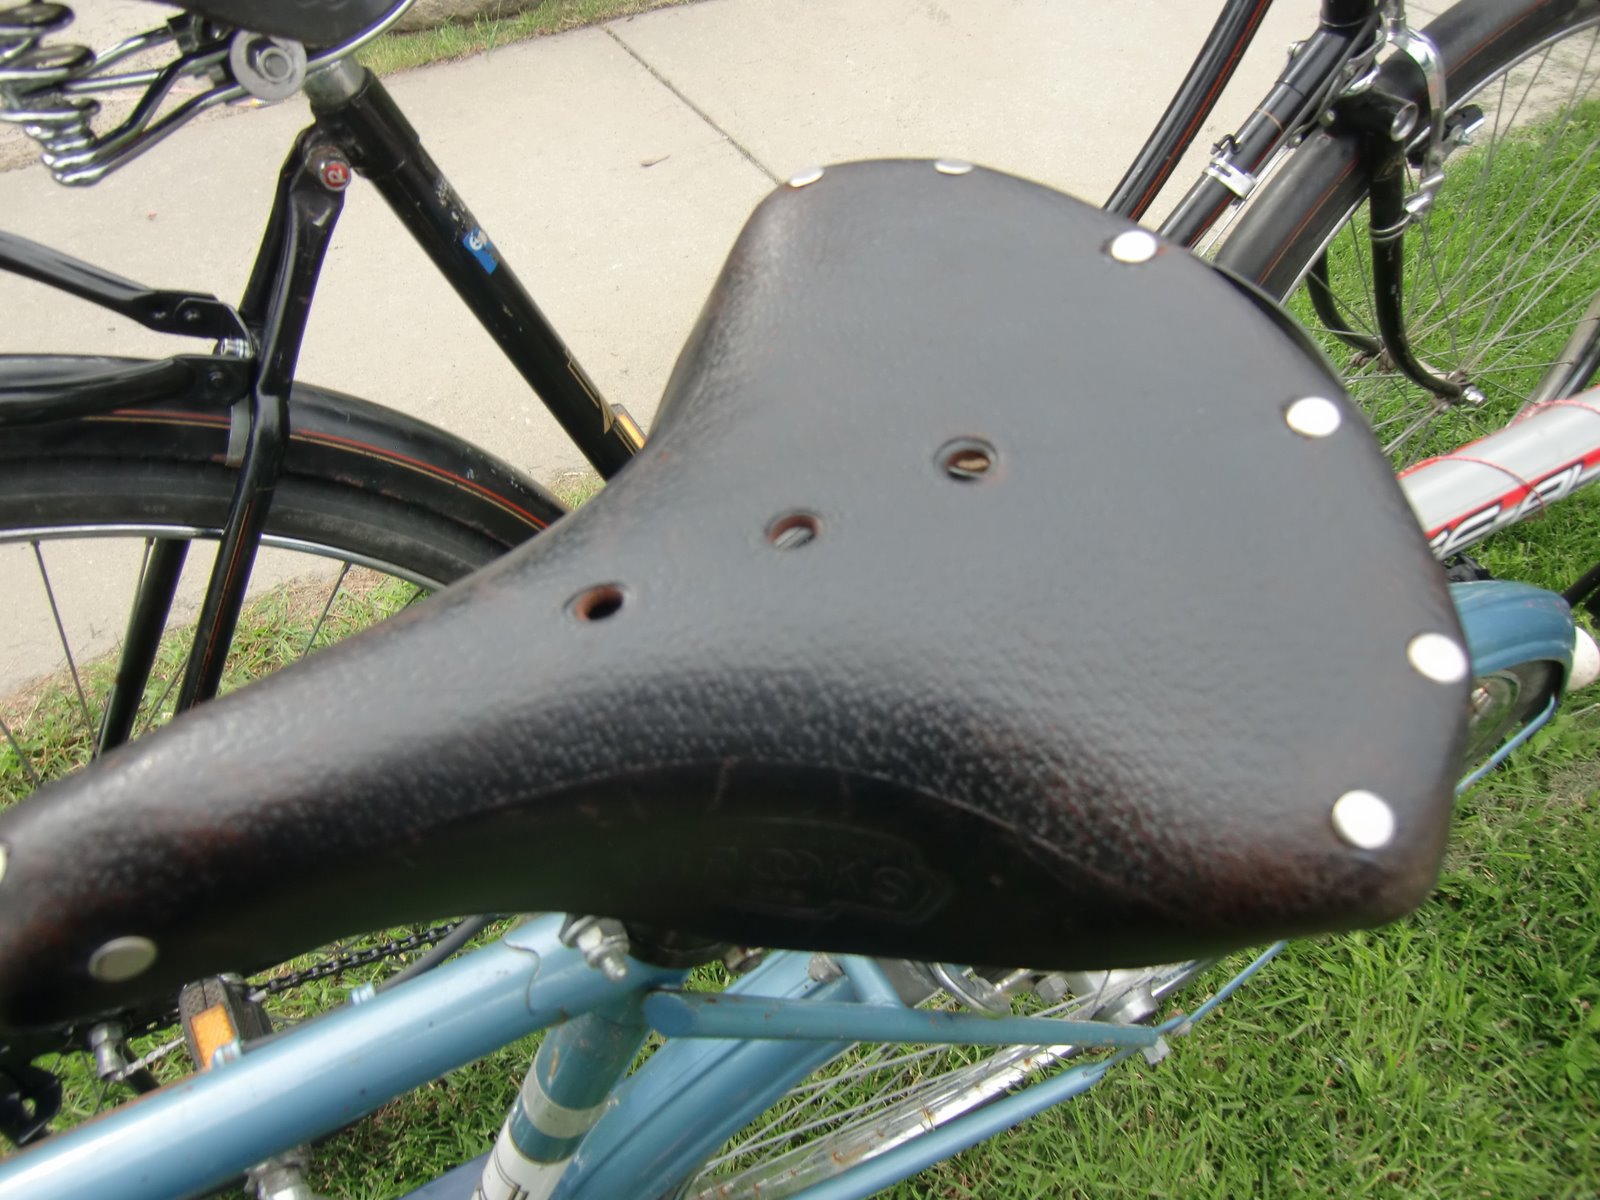
Eliza's new-to-her vintage B-66-S before treatment.
The 1978 B-66 that's now on Bert. Poor thing probably hasn't seen Proofide since the factory. 
I know there's a perennial discussion going about alternatives to using Brooks' Proofide product to condition and waterproof saddles. Everyone from Sheldon Brown to the guys at BikeForums.net have weighed in at some point on it. The neetsfoot oil used to soften baseball gloves is often suggested instead, particularly for reconditioning older leather that has dried out, but some think it can make the leather too soft and ruin the saddle. My feeling was, in this case, using something other than the saddle goop recommended by the original manufacturer might be false economy, so why overthink it, especially when I can easily buy it at my favourite LBS for less than twenty bucks? (However, vegetarians take note: if you've decided to use an existing leather saddle, you'll want to research the alternative products that are available, since one of the main ingredients of Proofide is, um, beef tallow.)

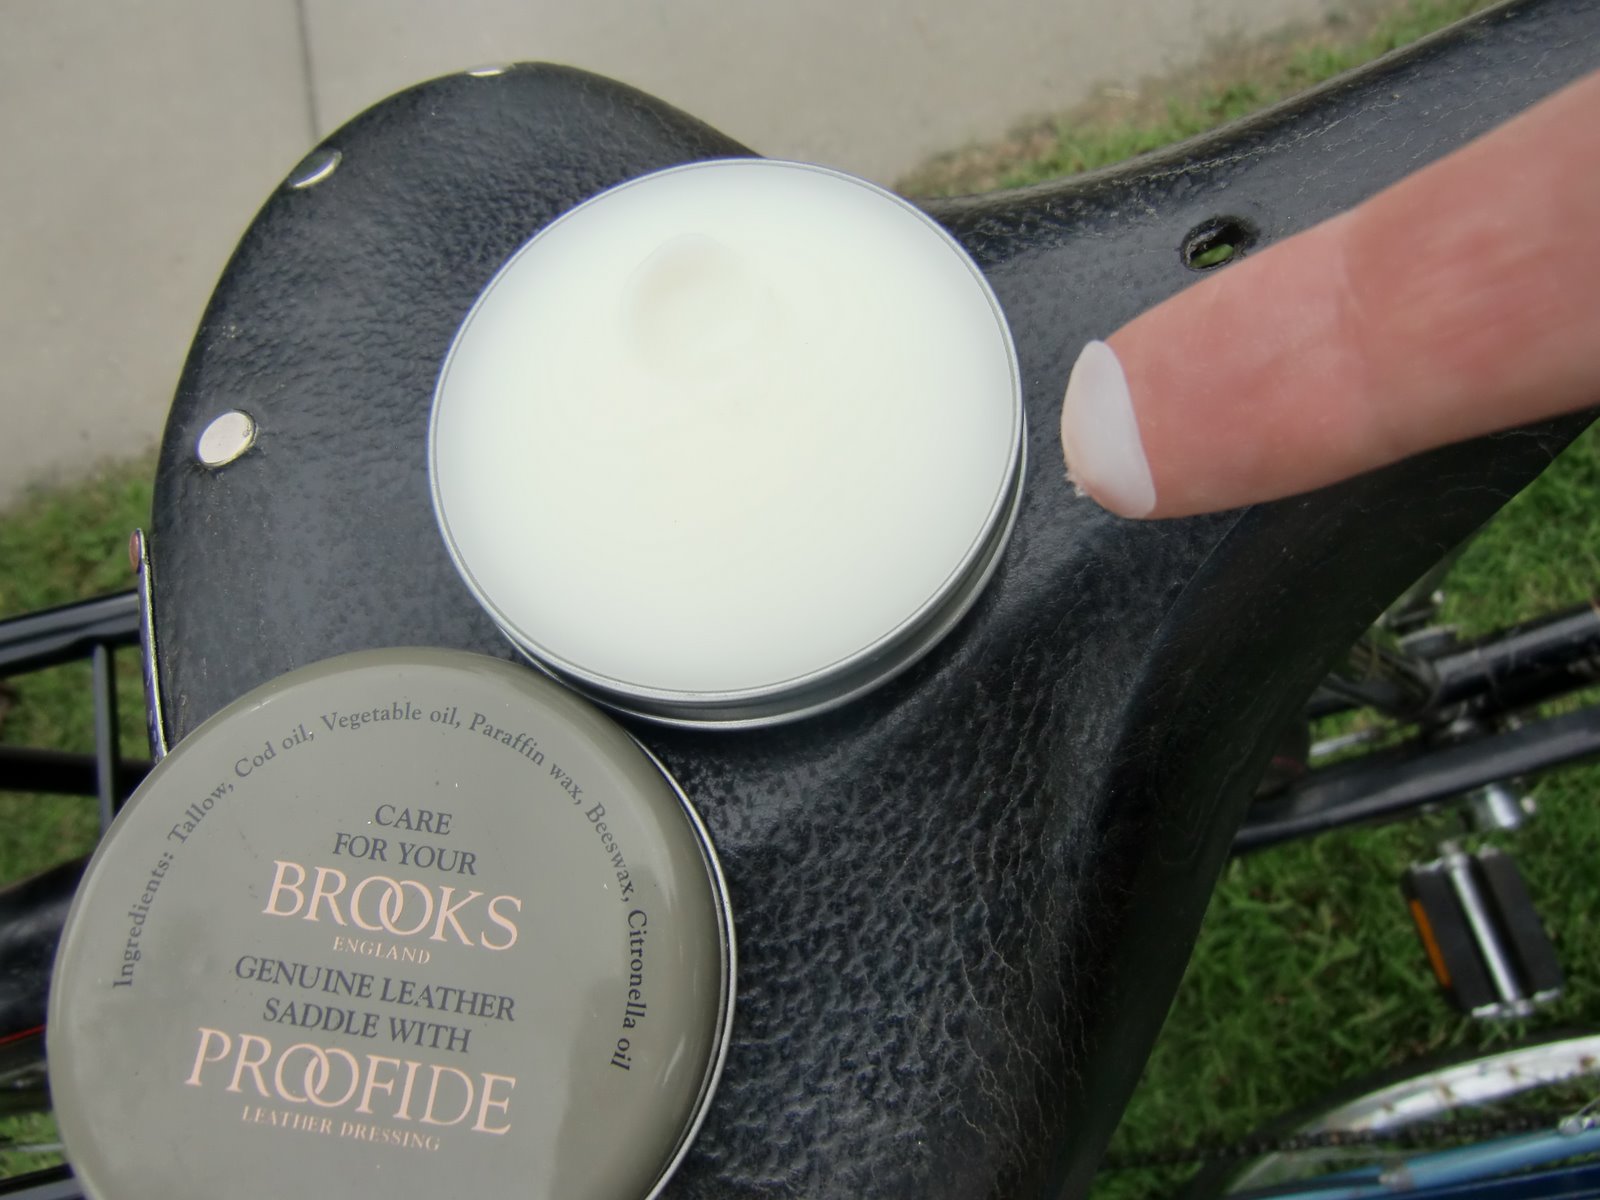
This is how much Proofide I was told I should use. 
Like the old Brylcreem ad says, a little dab will do ya...

...unless your saddle is as ancient and neglected as mine were. Here is the B66S gooped up with about four times that amount, spread in a super thin layer all over. Immediately after spreading the goo (it feels just like hair wax, too) and taking this photo, I wiped off the excess with my rag.

Here's what it looked like immediately after I wiped the excess off (still a bit shiny). If you look at the cloth on the rack, the slightly discoloured part was used to wipe. After taking this photo I went in with a corner of the rag to get the little globs on the edges of the holes. At the advice of the guys from redbike, I only did the top, not the underside (apparently the underside is only needed if you don't have fenders.).

And here is Bert's B66 gooped up with six times that fingertip amount - it was thirsty! After taking this photo, I wiped the excess off, then redid the driest bits with another two fingertips' worth.

This is how much was used out of a 40 gram tin - the smaller 25 gram tin would have done me just fine. I think 40 grams might be a lifetime supply, if the stuff doesn't go rancid.

Here is Bert's saddle when I was all done.

Here's a detail of one of the driest parts of the saddle after treatment - you can see that the surface of the leather had started to crack and flake a bit, and it's rough enough that it was pulling tiny threads from my wiping rag - but feeling much smoother and looking better now.

The nose of the saddle was the other especially dry bit that got a second application of Proofide. I also noticed that the saddle looks like it may need retensioning, so I'll get the guys at redbike to do that for me soon.

The chain on Bert was looking pretty cruddy and a bit rusty in spots, so I decided to apply some lube next. One generous drop per link, on the little roller in the middle (whatever it's called), then wiping off the excess with an absorbent cloth.

The oil I used, bought at MEC, feels like veggie oil, because it pretty much is veggie oil. Since its purchase I've learnt that this stuff gets brutally sticky in our climate, and catches all kinds of road gunge, in addition to being best for the warmest temps - but since I'll only be riding Bert with the trailer bike attached on the neighborhood sidewalks with my kids during the good weather, I might as well use it up.

The chain looked much better, and the rag looked much worse, when I was finished, and my hands were nicely moisturized from the veggie oil. ...I guess the next job will be to clean all Bert's little rust spots and carefully apply some wax or clearcoat.

Lookin' pretty good, Bert.

Since I last griped about Bert, the correct Shimano shifter has been found and installed, the rear wheel has been pulled back so the chain isn't too loose, and the Wald rack and a Crane bell have been installed, with the expert help of both Coreen and Keith at EBC. I'm still figuring out the little chainguard rub and trying to decide if the handling only feels squirrelly when the trailer bike is on it or if the headset needs attention or what. But all in all I feel pretty good that I've at least been in the room watching and taking mental notes and that I've gotten my hands good and dirty getting Bert to the point where he's useable, even if my husband never ends up riding the darn thing. 

Eliza just came home this afternoon from a holiday at redbike with her new Steco rack with integrated kickstand (ordered online through the legendary David Hembrow's Dutch Bike Bits, because redbike couldn't special order it through their suppliers), and the same kind of rear light that Pashleys have installed. They also tightened the tension bolt in the vintage Brooks B66S for me because they noticed the leather was practically touching the rails. Thanks guys!!

I also upgraded Eliza with my vintage chromed Miller bell, which used to be on Mary Poppins. (The little bell that came with Eliza got inherited by Audrey's balance bike.)

A clear plastic shower cap will make a handy rain cover for the saddle until I can get something cuter.

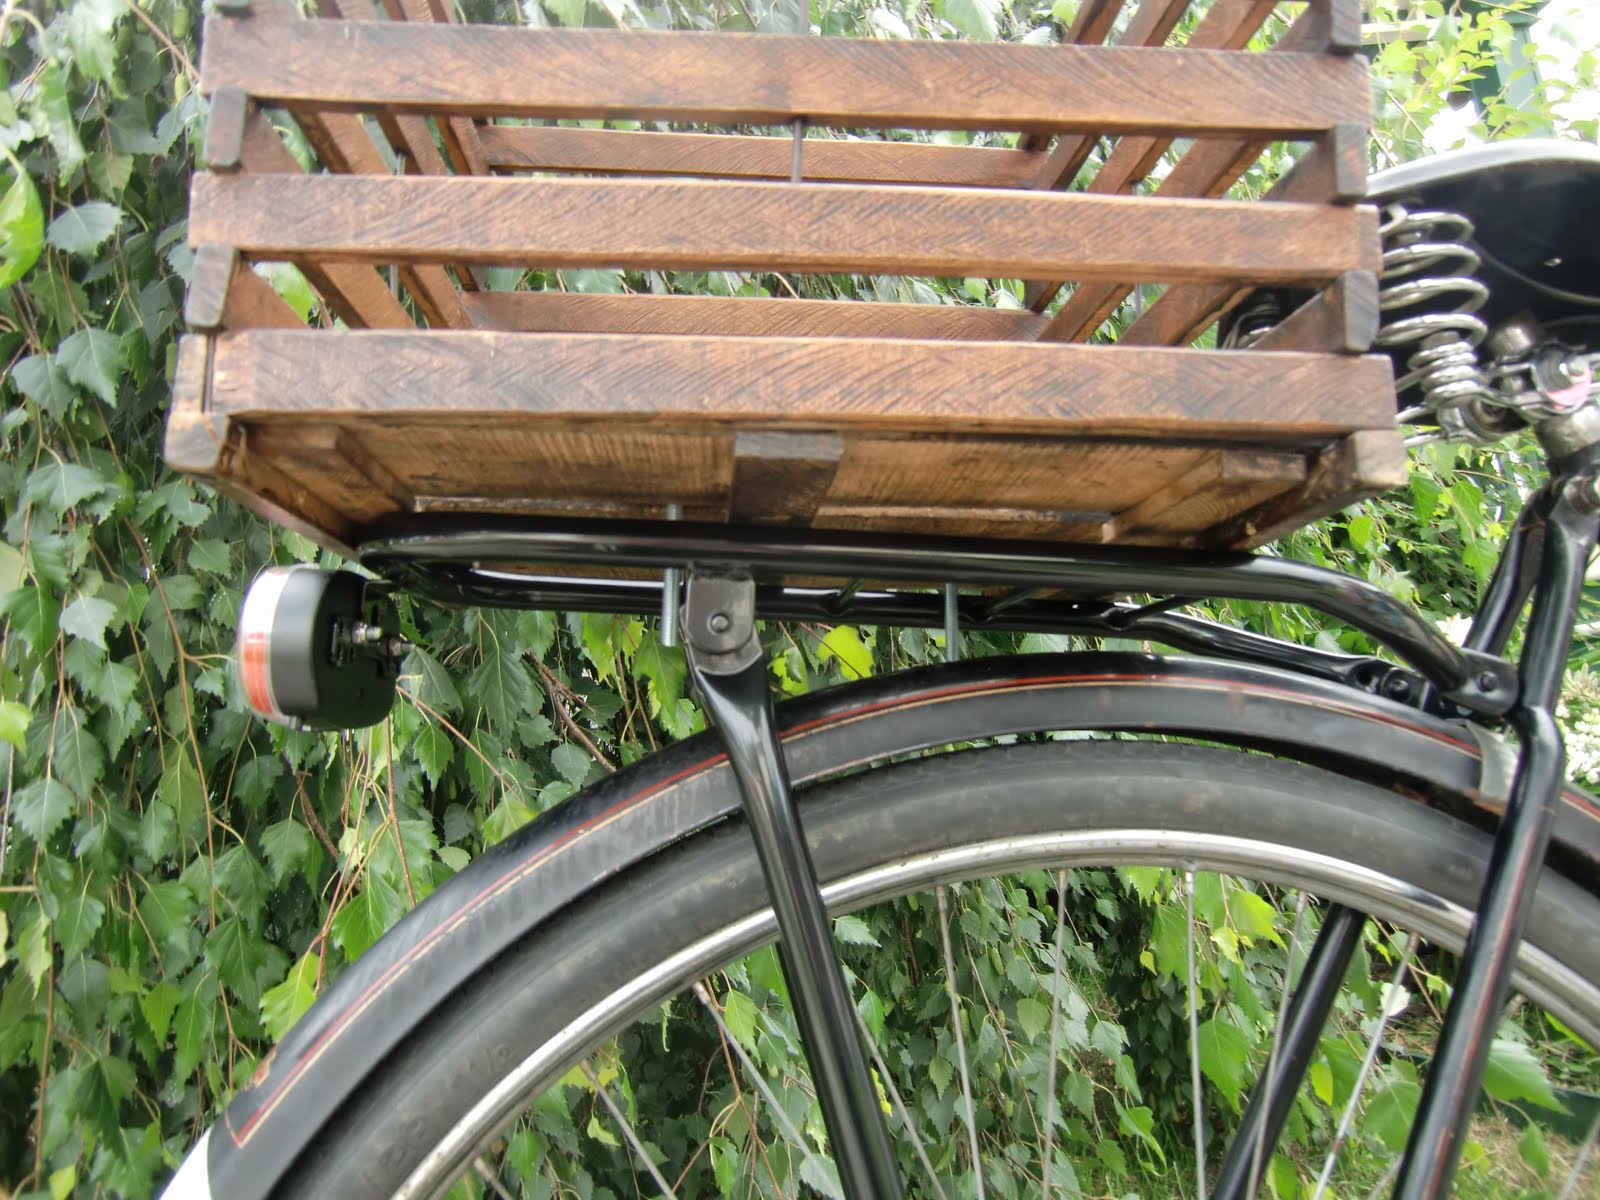
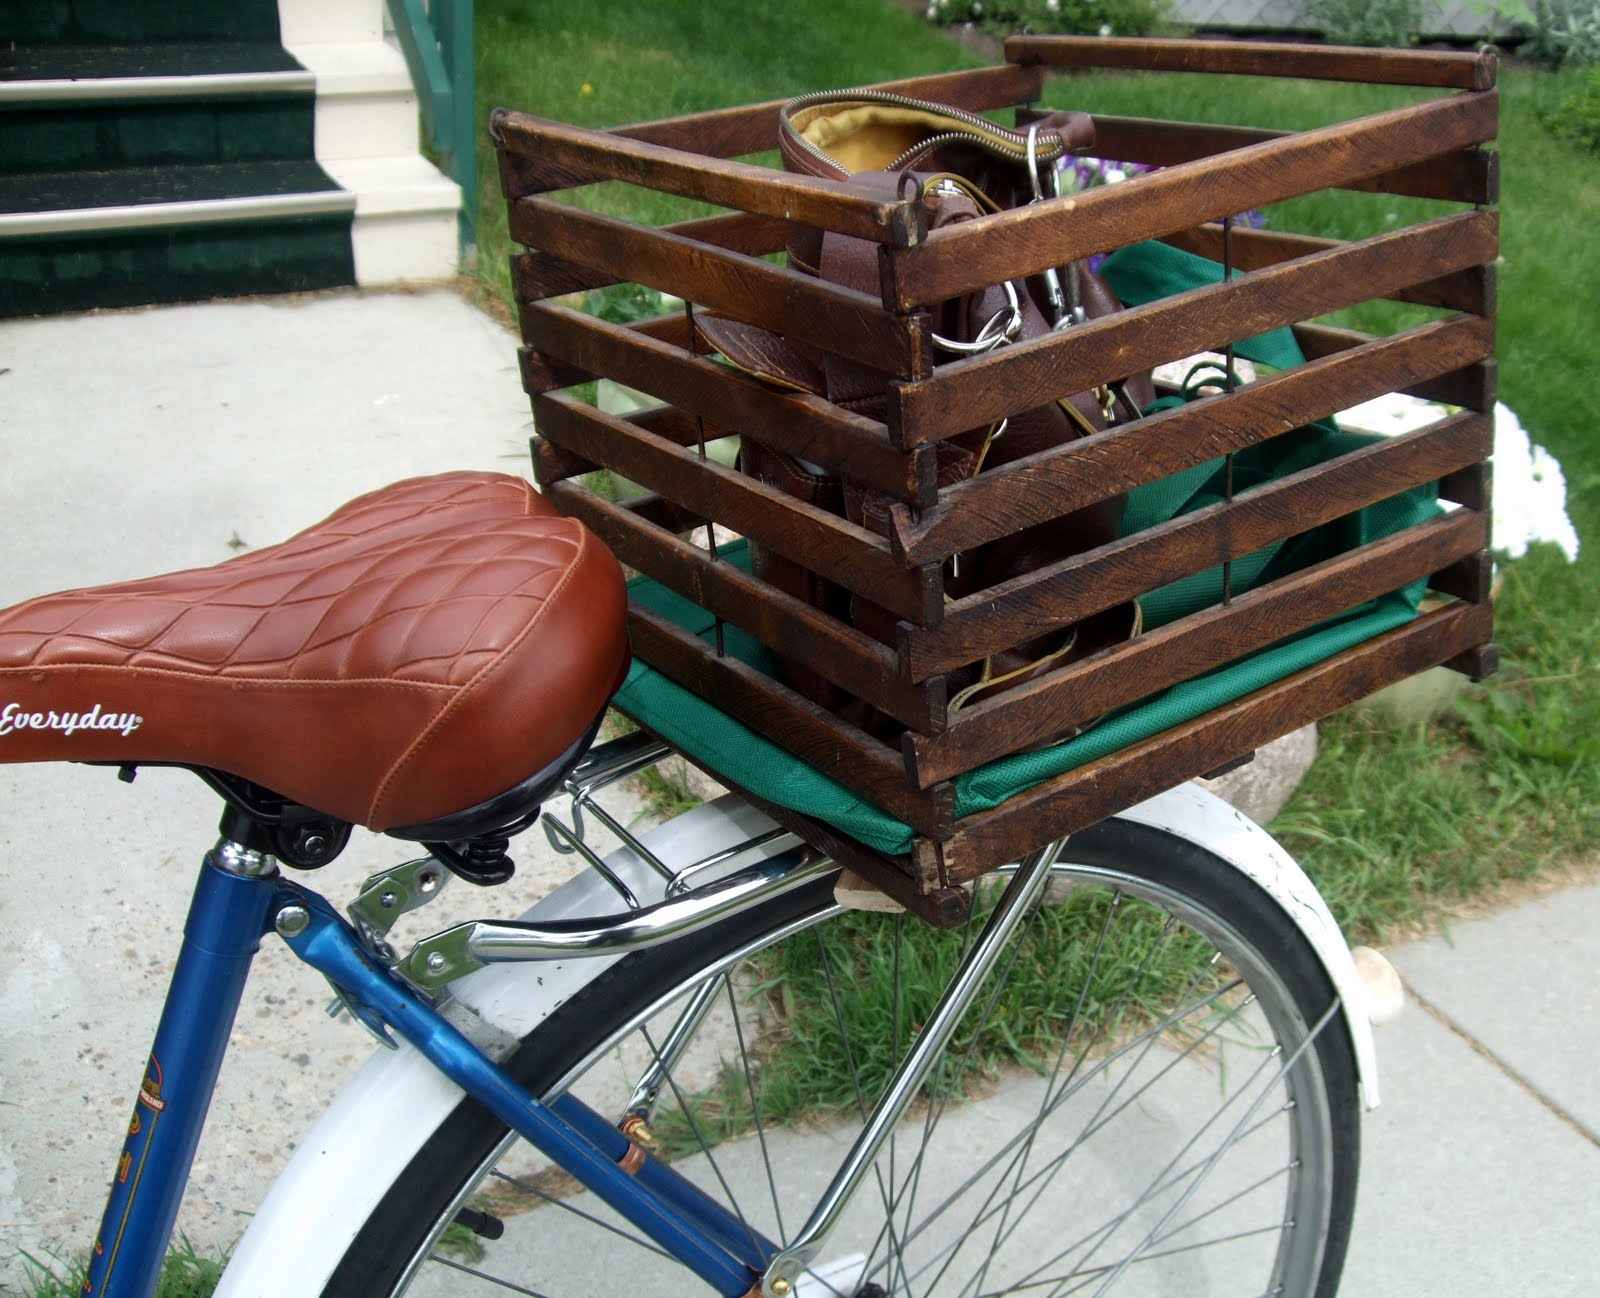
Next I needed to install my antique quarter-sawn oak egg crate, to complete Eliza's transformation into Super Grocery Bike. I carefully lined everything up so the crate is centred and the screws for the homemade clamp have lots of clearance. The back edge of the crate is just off the rack to give me the most possible butt clearance for riding comfort.


View of my home-made clamp from the top.

 
I tightened up the thumbscrews and voila! This is super sturdy and ready to carry a fairly heavy load.

 
The egg crate is now solidly clamped onto the rear rack.
Eliza is looking so useful and beautiful and timeless!

 
About a half hour after Proofide application, the saddle is looking much less shiny. 
I'll still wait overnight before I take it for a spin.

As a finishing touch, I added fabric flowers to her front basket (I had these on the egg crate last year).
 
Eliza's ready for her first grocery run!

PS: This post is part of our series for the LGRAB 2011 Summer Games! This is a "perform a maintenance task on your bike" post.

27 July 2011

A Deelite-ful Balance Bike

Remember the adorable little mid-70s banana-seat Deelite that was going to take so much work to make roadworthy? A couple of Sundays ago, we took it in to EBC and turned it into a balance bike, with Coreen's supervision. The genius of this plan is that it means no need to repack the bottom bracket or fix the coaster hub - and that it will help Audrey with her rocky transition from 16 inch wheels with training wheels attached to 20 inch wheels and no training wheels. Once she's done we'll give the banana seat a makeover to make it less girly, and it will become Dom's.


As found. 

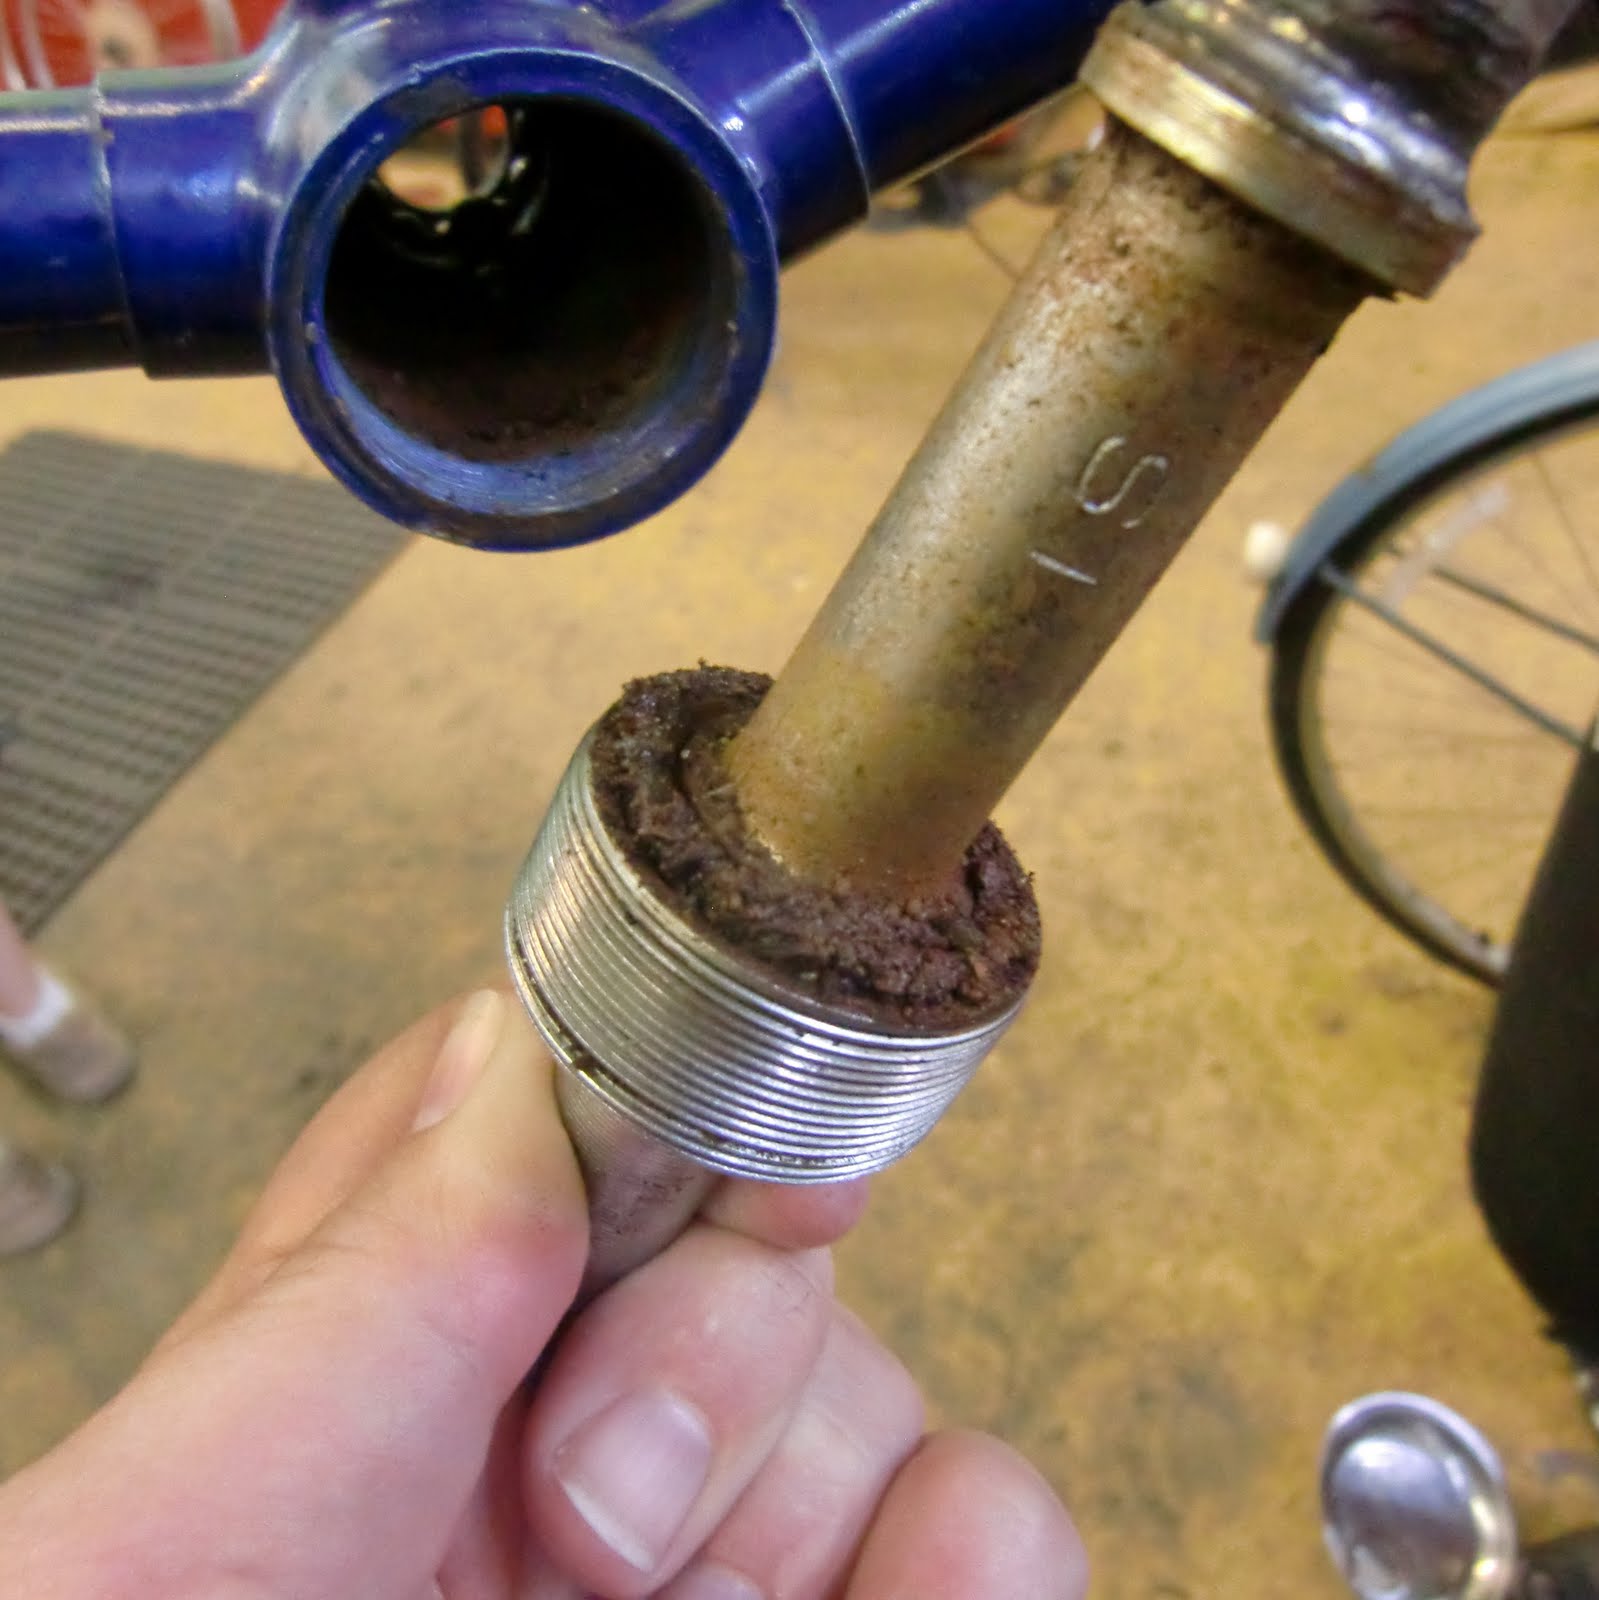
Much to my surprise none of the nuts that had to be removed from the cotter pins, chain adjusters, or axles were seized. We used a cotter pin press to remove the pins without incident, pulled the pedal cranks off, then broke the chain. Here's what I saw when I pulled out the axle:


Coreen: "Wow, that bottom bracket looks even worse than Poplar's!" I doubt that somehow, but it is pretty dessicated, and when I smushed the rusty granular goop together in my hand it was the consistency of that sticky putty you use when you install a toilet. That is not how grease should feel.


After cleaning the bottom bracket out, I smeared a little Phil Woods goop in there to help keep it from rusting, then put the cups back in place. Those two holes you see above mean a pin spanner is required for the job of screwing and unscrewing the cup from the threaded bottom bracket, in addition to the bottom bracket wrench with three prongs for the outer ring. Yeah, I had never heard of a pin spanner before either.

All done for the day. As you can see we also removed that rattly front fender, which involved taking the front wheel off entirely.

Best helper ever.

Leftover parts, minus a few ball bearings.

Yesterday I finished the job by changing both inner tubes, since neither of the old ones were holding any air, inspecting the rear tire that supposedly needed replacement (looks okay now that it won't be a braking surface), and resecuring the no-longer-needed chain adjusters. I'll have to get Coreen or Keith to take a look at the front forks, since I had to be really careful in placing the wheel back in there to find a position where it didn't rub as it turned - I think something must be bent to be causing that - but it's working okay for now and will fulfill its' immediate purpose.


And here it is in use! We fancied it up a little with a plastic front basket and some NOS Milton plastic streamers I found on eBay. Audrey is doing great on it - she says it feels really weird to be not pedalling - and in a few short days I think she'll have enough confidence to graduate to her big-girl bike. She's already working on building up a little speed and seeing how far she can coast without putting her feet down.

PS: Oh look, our heroes at Chicargobike have already posted a summary of balance bike history and make-it-yourself instructions.

26 June 2010

Carrying A Load (LGRAB Summer Games post 4)

Today I'm blogging about carrying a load as part of the Learning Experiences section of the LGRAB Summer Games.


Originally I was going to use the freeloading trailer for this post, but then something snapped inside Angel's kid trailer attachment - and freeloading trailer got used for parts. So instead, I decided to try a grocery run using a box. There is a long and noble tradition of using fruit boxes and milk crates for carrying loads on bicycles. I love both the utilitarian look of a milk crate, and the romance of using a vintage wood box; but I wondered, which would be more functional? So Angel and I decided that we'd do a head-to-head comparison.


I started by looking at a couple of old plastic milk crates I had in my basement. (These were inherited from postdocs moving to other cities, and are not from local dairies, so no ratting me out to The Milk Crate Recovery Team!) There are a couple of posts out there that describe methods for attaching a single milk crate to your back rack using a bungee cord or some simple hardware-store finds. If you want to attach two crates,  without making mounting a top-bar bike like Bert completely impossible, you can try the simple method at Dinosauropedia to make milk-crate panniers, which looks much more stable than just tying them together with rope. (If you're looking to use other types of plastic bins or buckets for panniers, there's inspiration to be found at EcoMetro.)

I ended up deciding to give Angel a red milk-crate-clone with a Chinatown shop's price sticker, which would be perfect for on the rack on Daisy. Since most people attach them with zip ties, that's how Angel attached hers for our testing. She has already described her first experience hauling groceries using the milk crate. Her load was: 4L jug of milk, 2lbs grapes, ~2lbs cherries, 1lb blueberries & 6 pack clamshell of pastries; her wish list for next time is some canvas bags and bungee cords.  

Eventually I want to attach this sturdy fruit box ($12 at a local antique mall, and I won't even have to reinforce it!) to the back of Mary Poppins, whose 28 inch wheels will accommodate a larger-scale box:

I haven't quite decided how I'll do that. The easiest thing would be to find an appropriate rack to fit the bike, then attach to that, but I've been having a LOT of trouble (including buying and returning a couple that were recommended) finding one that will fit onto Mary's 28-inch rear wheel with no extra hole above the dropout. Perhaps I'll get someone to make something like this bracket for me, or special-order one from the UK (they're made by Adie) - or maybe I'll DIY something using pipe strapping. Once I have a way to attach it, I can take inspiration from one of these similar projects using wooden boxes. Meanwhile, I have lightly sanded the box and given it a coat of this to protect it:

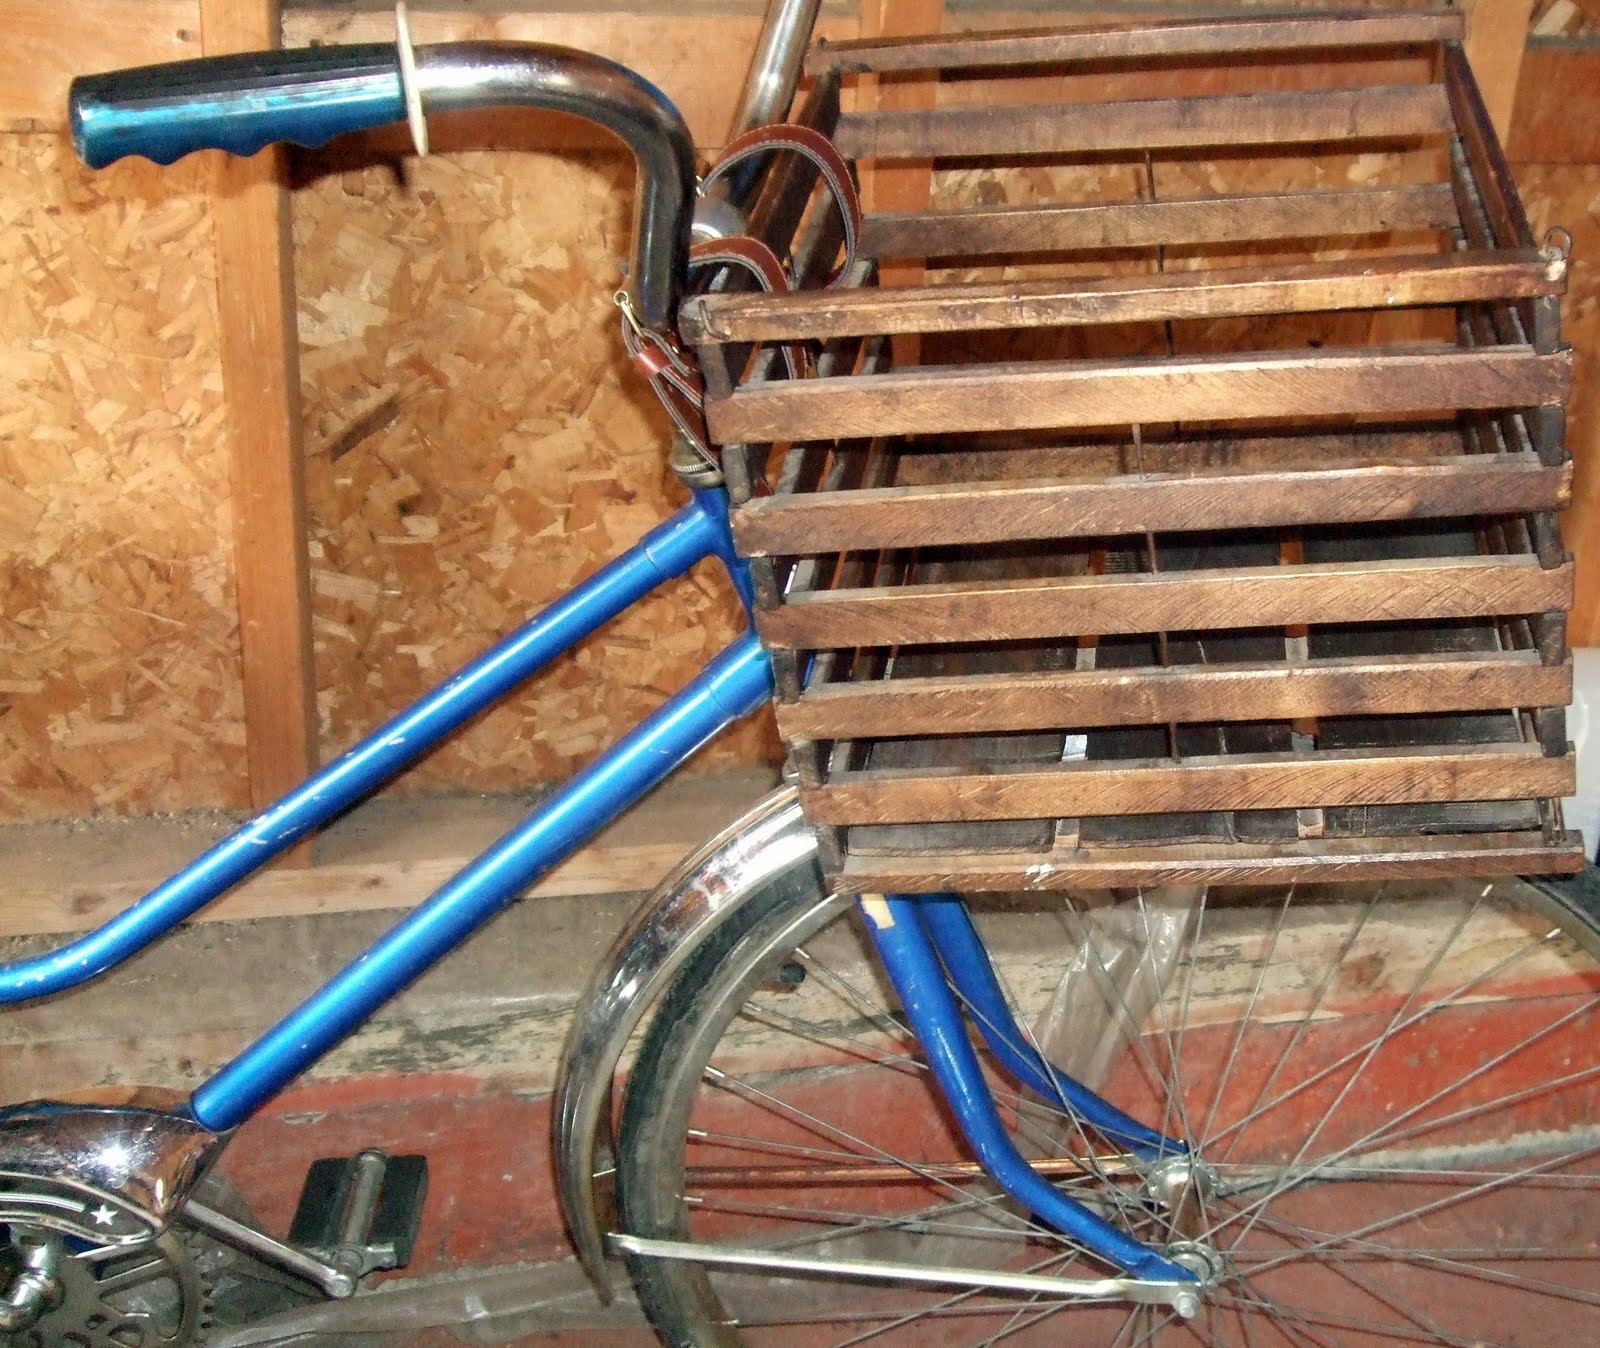
I also chose this gorgeous antique wooden egg crate ($38, but look how pretty):


It's wonderfully versatile, since I can use basket straps to attach it to the handlebars like this...

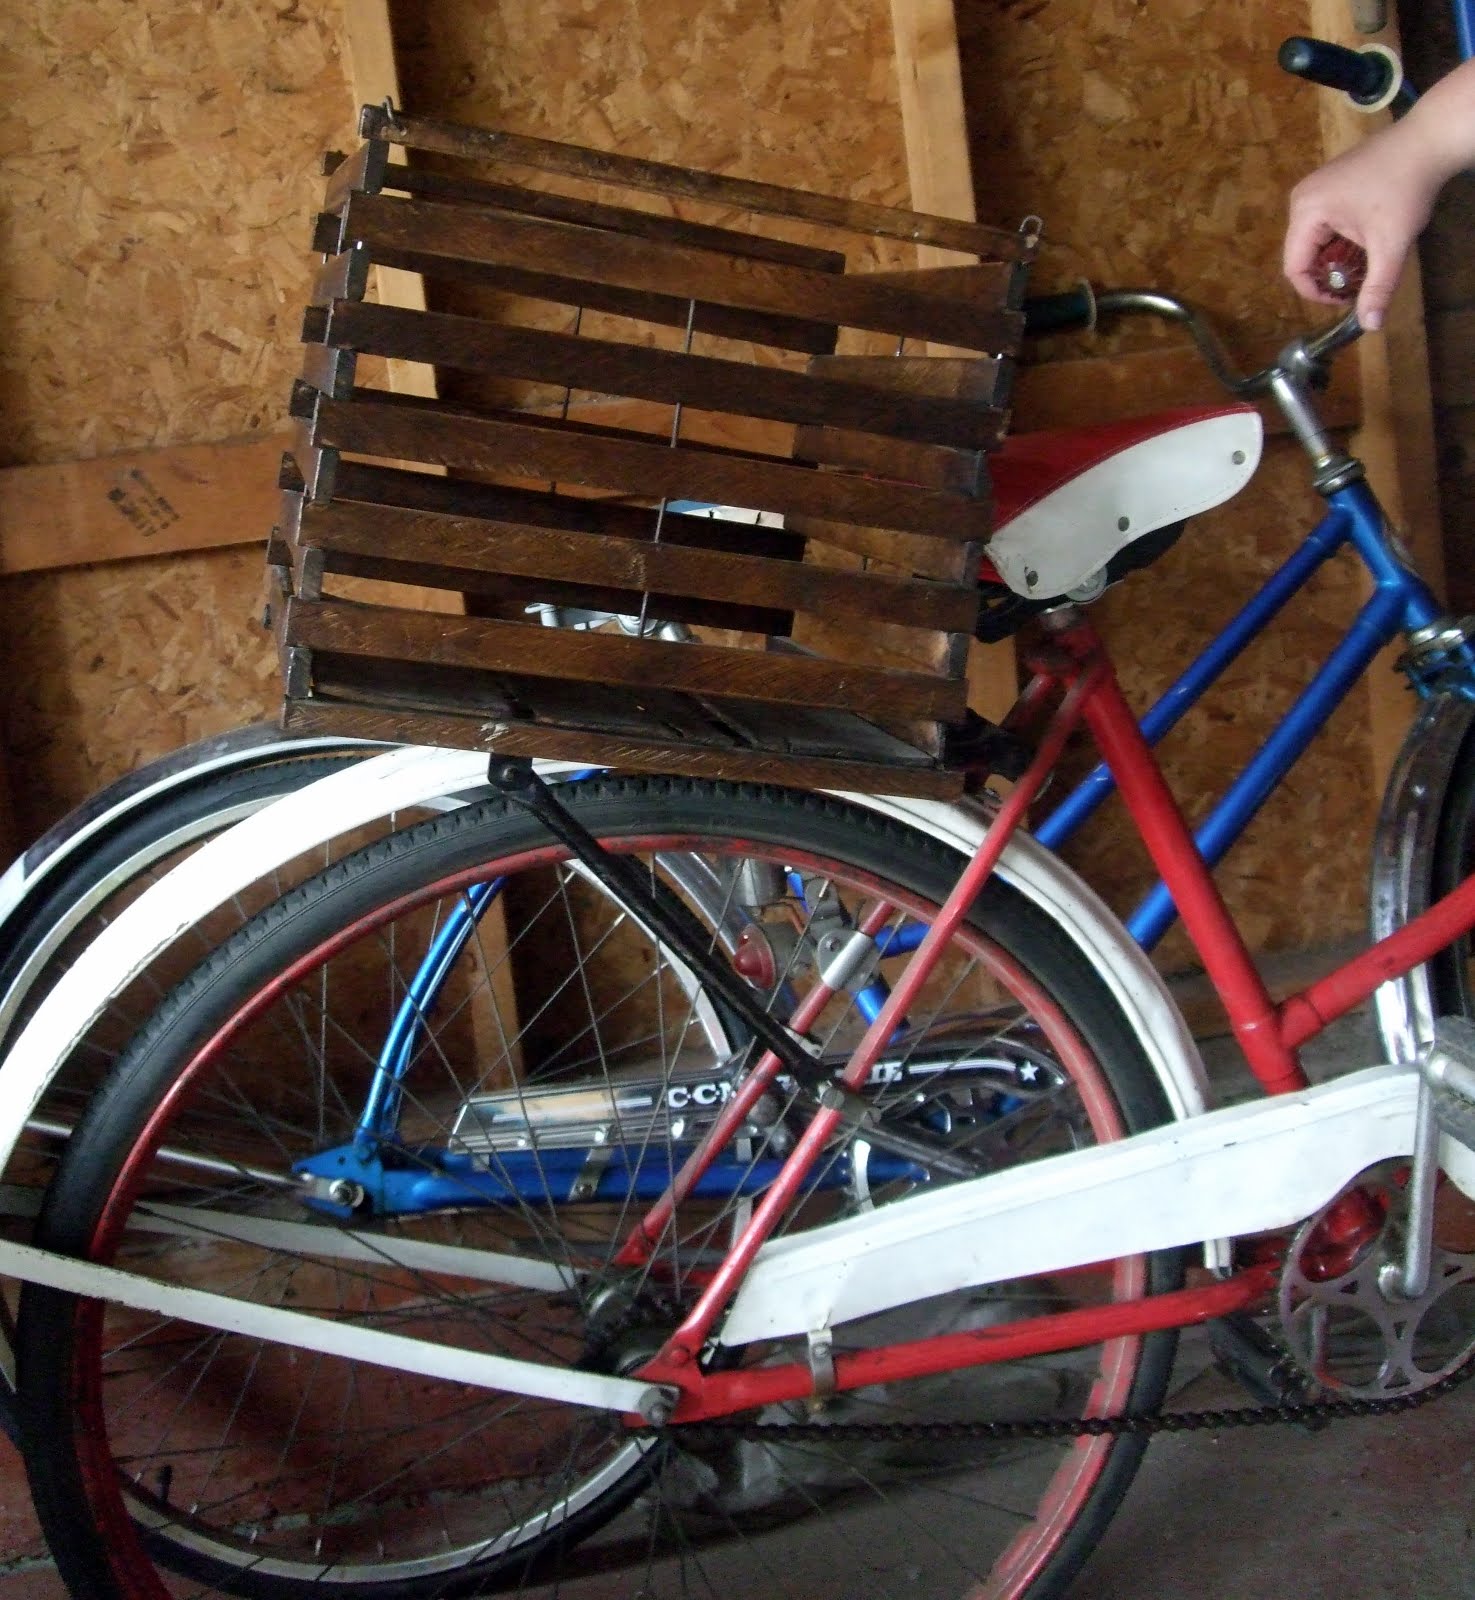
...or attach it to a rear rack like this:


Turns out the egg crate is the absolute perfect proportions for on the NOS Steco rear rack that was on Bert. (I say "was" because attaching the CCM Bike Buddy trailer-bike for the kids, which won't fit onto Mary thanks again to her 28 inch wheels, involved removing said rack from Bert. More about Bike Buddy another time.) The way this bike box on Etsy attaches looks especially elegant, so I decided to do something similar with carriage bolts and thumbscrews.


But first I needed to figure out how to attach the Steco rack to Mary, who has wire fender stays. A comment by Coreen about how they had macgyvered the connections on a similar rack at EBC got me thinking about what I could use in place of the provided hardware. The solution: 3/4-inch copper pipe-hanger clamps, which are sold for a pittance in the plumbing aisle of your local hardware store, are pliable enough to be easily bent from their U-shape to go around the stays of the bike, and are soft enough that regular drill bits could be used to enlarge the nail-holes to accept the screws from the other hardware. I cut a leftover piece of rubber gasket to fit inside so the paint on the stays wouldn't get scratched and to improve the fit. It looks great, and feels really secure!


22 Oct 2010 Update: After a couple of bumpy rides I managed to lose one of the nuts you see below - so if you're doing this, add some Threadlock (from the adhesives aisle at the hardware store) to keep your rack in place. Also: be aware that this solution is fine for carrying cargo, but the weakest point is still going to be the attachment point and therefore your rack won't be able to carry as heavy a load as it may be rated for. So, you know, no attaching a child seat to this, m'kay?


Now for my DIY wooden attachment clamp. Here's what I started with:


I cut two equal lengths of the hemlock door stop, sized to fit diagonally (to help distribute the load across the slatted bottoms) in either of my boxes, and sanded the cut ends, then marked where the holes needed to go, and drilled and sanded again. I won't give measurements since it'll vary with the box and the rack you're using. The 2-inch brass carriage bolts are fine for the fruit box, but just a smidgen too short for the quarter-sawn oak of the egg crate, so I needed to go back and get 2.5-inch ones as well.


Also, the bottom of the egg crate was not attached to the sides, so I predrilled some holes (oak is called hardwood for a reason!) then used 3/4-inch brass wood screws to hold everything securely together.


Here's the finished product installed (some pics with the fruit box and some with the egg crate):


(Clearly the fruit box is too long for this rack, 
unless I install it the other way and double my bike's width.)


You'll notice that Mary Poppins has also been fitted with a double kickstand! This one is meant for 26-inch bikes, so it's OK on perfectly level pavement and too wobbly on rough ground - but it will do until I can find one that's the right size. The kickstand Mary came with was also too short, so this is still an improvement to parking stability. It'll move to Bert once I get the right one for Mary.


Something that the process of installing this baby reminded me: I love having a vintage spanner (aka wrench) from the manufacturer of my bike. It makes these sort of jobs so much easier, because it's designed to fit into tight spaces and fit the odd-sized bolts, and it's great as part of my bring-along toolkit for when the bolts holding my fenders on get a little too loose (as happened on the Critical Lass ride). If you have an old bike and you know who made it, I highly recommend checking the old owner manuals that are online to match up to then eBay to see if you can get the right one for your bike. The Raleigh/Phillips ones regularly go for less than $5 before shipping - well worth it.

My 1960s Raleigh spanner. I use the hex-wrench shape on the end all the time.

The first thing I realized when I started riding was that I hadn't left room for my butt! Luckily this attachment system is versatile, too: I just pulled over, loosened the thumbscrews, and slid the box about and inch and a half further from the seat . No problem.


I wore cotton capris and my favorite flat sandals. This reminds me, I need a pedicure.


The ride to two of the closest grocery stores to my place takes me on a multi-use path through this lovely park:


15 minutes door-to-door, including waiting at the lights on 23rd Avenue to cross busy Rabbit Hill Road as a pedestrian. Not bad! It's nearly triple that when I walk it with my kids in a wagon.

Here is what I bought, about two bags' worth of groceries, including all the items that were on Angel's list. This is totally what I would have bought today if I had brought my car.


I took about 5 minutes to repack the groceries into my baskets. In the future I expect it'll take less time since I will have my packing system figured out. The veggie tray, marshmallows, lemon juice, shampoo, and my purse went into the front basket, and everything else (including my lock) fit into the egg crate. Hey Angel, I think the egg crate wins.


I did find that it was pretty top-heavy, and once I had unlocked from the rack I needed to keep a hand on the bike to keep it from falling over (stupid too-short kickstand). Once I was riding it didn't affect my balance much. By the time I got home, a fender-rub noise had developed, and investigating it showed me that all three of the nuts holding the rack in place had loosened and the whole rack had shifted a little bit to one side. Clearly someone with more hand strength than I have needs to retighten them, and DH has suggested that we try using lock-nuts instead of hex-nuts.

All in all: easy-peasy! I can totally see this being my new evening-or-weekend-morning grocery-run routine - which was part of why I wanted to get a bike in the first place.

Update, 22 Oct 2010: there is also a great wooden-bike-box how-to (with attaching a leather handle!) over at Eighteenth Century Agrarian Business.