

As found.
Much to my surprise none of the nuts that had to be removed from the cotter pins, chain adjusters, or axles were seized. We used a cotter pin press to remove the pins without incident, pulled the pedal cranks off, then broke the chain. Here's what I saw when I pulled out the axle:
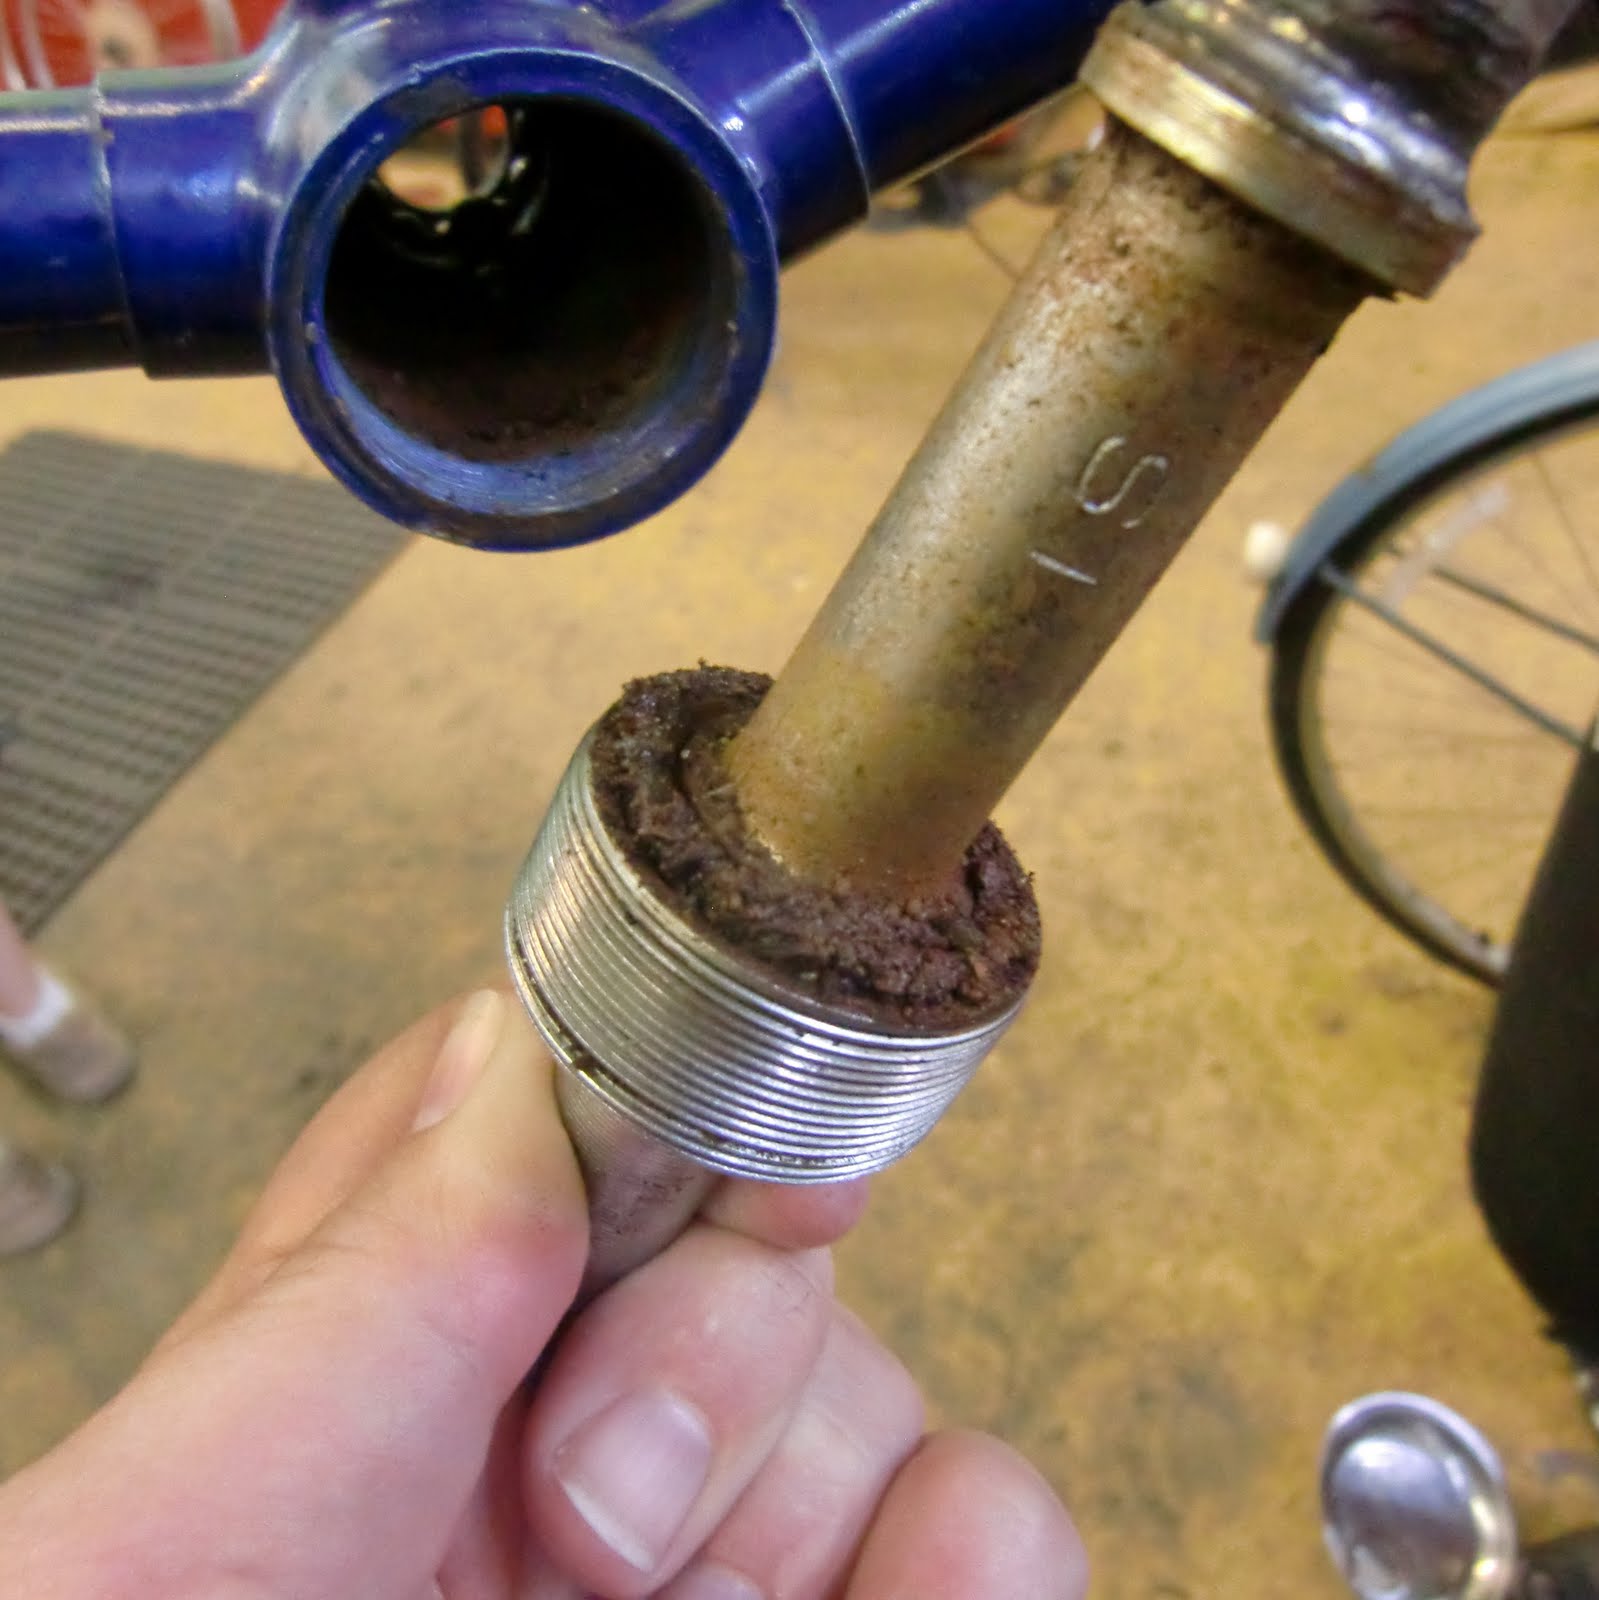

Coreen: "Wow, that bottom bracket looks even worse than Poplar's!" I doubt that somehow, but it is pretty dessicated, and when I smushed the rusty granular goop together in my hand it was the consistency of that sticky putty you use when you install a toilet. That is not how grease should feel.

After cleaning the bottom bracket out, I smeared a little Phil Woods goop in there to help keep it from rusting, then put the cups back in place. Those two holes you see above mean a pin spanner is required for the job of screwing and unscrewing the cup from the threaded bottom bracket, in addition to the bottom bracket wrench with three prongs for the outer ring. Yeah, I had never heard of a pin spanner before either.

All done for the day. As you can see we also removed that rattly front fender, which involved taking the front wheel off entirely.

Best helper ever.

Leftover parts, minus a few ball bearings.
Yesterday I finished the job by changing both inner tubes, since neither of the old ones were holding any air, inspecting the rear tire that supposedly needed replacement (looks okay now that it won't be a braking surface), and resecuring the no-longer-needed chain adjusters. I'll have to get Coreen or Keith to take a look at the front forks, since I had to be really careful in placing the wheel back in there to find a position where it didn't rub as it turned - I think something must be bent to be causing that - but it's working okay for now and will fulfill its' immediate purpose.

And here it is in use! We fancied it up a little with a plastic front basket and some NOS Milton plastic streamers I found on eBay. Audrey is doing great on it - she says it feels really weird to be not pedalling - and in a few short days I think she'll have enough confidence to graduate to her big-girl bike. She's already working on building up a little speed and seeing how far she can coast without putting her feet down.
PS: Oh look, our heroes at Chicargobike have already posted a summary of balance bike history and make-it-yourself instructions.
That's fantastic! I'm so excited for Audrey. We did a less thorough version for Spencer when he outgrew his 16" bike early this summer (I will NOT put training wheels on a 20" bike!). We just took off the training wheels and pedals, but left the pedal cranks on. The full conversion that you did looks much better, as he did knock his ankles on the cranks a couple of times. Still, it was pretty successful overall - he learned more about balancing with one month on a balance bike than he did in 2 years with training wheels.
ReplyDeleteWe recently bought Spencer a shiny 20" bike, and he was up and riding the first day. He still needs help getting started, as he doesn't yet have the hang of getting that foot off the ground and starting pedaling. However, once he gets going, he loves it and zooms around the playground.
The bike looks great Deb & Audrey looks happy to have it. Good work you guys!
ReplyDelete